Case study by Julia
Restoring a patient’s palate and smile
THE PATIENT STORY
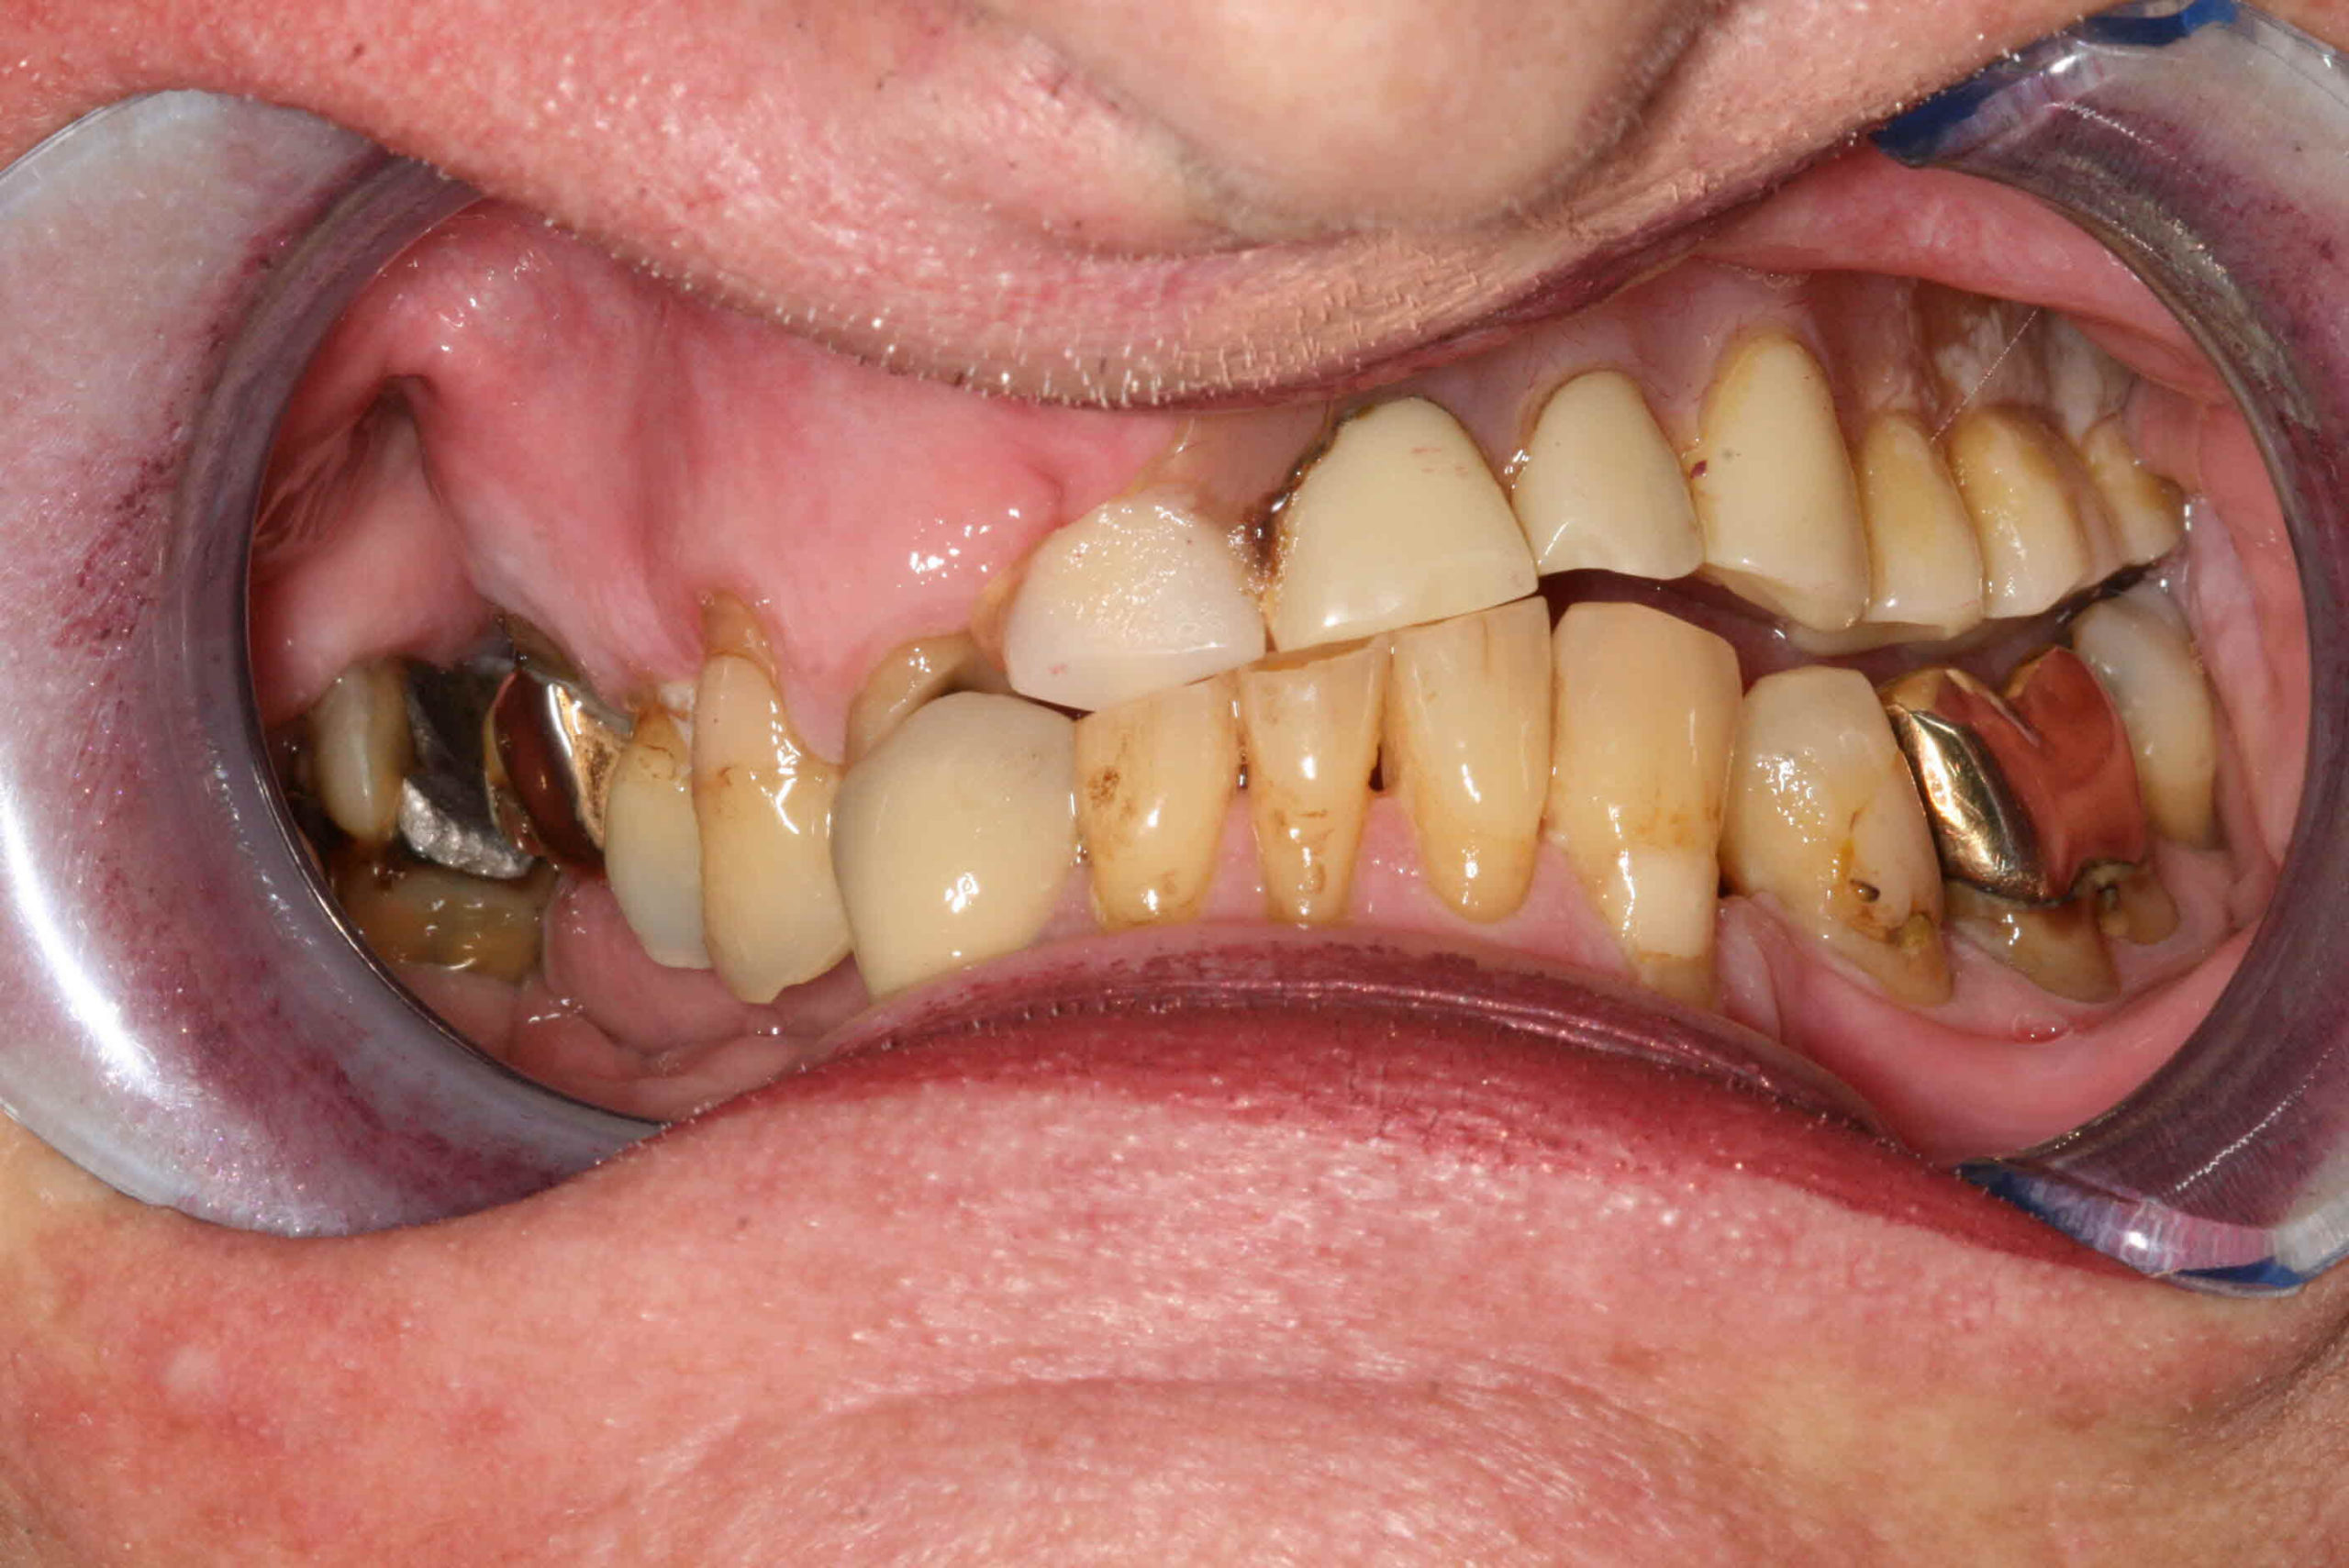
68 year old female patient presented with cleft palate and old ill-fitting partial upper denture. Lower jaw was partially dentate, only missing the lower right posterior quadrant. Over the years the correct OVD has almost completely collapsed due to missing dentition.
The patient came to the practice with two main concerns:
Firstly, due to being born with a cleft palate, her upper permanent teeth did not form properly and this has left her only partially dentate and extremely self-conscious.
Secondly, again due to the severity of the cleft deformation, the alveolar ridge formed extremely unevenly and unfortunately the patient still has a hole in the palate. This is causing food to escape through her nasal passage which again makes her feel self-conscious and at times can be very uncomfortable.
Her ideal outcome would be for a new aesthetically pleasing smile but also for a way of sealing the palate so she can finally enjoy eating without worry about food escaping through the nose.
As a collective of surgeon, restorer and technician, we were excited to put our heads together to figure out the best way to help this lovely patient.
Initial Treatment Plan
Patient had her initial assessment and x-rays taken to assess the viability of the existing teeth. Primary impressions and bite registration were also taken so that a physical representation of the current situation was also available to help us figure out the best course of action as we proceed forward.
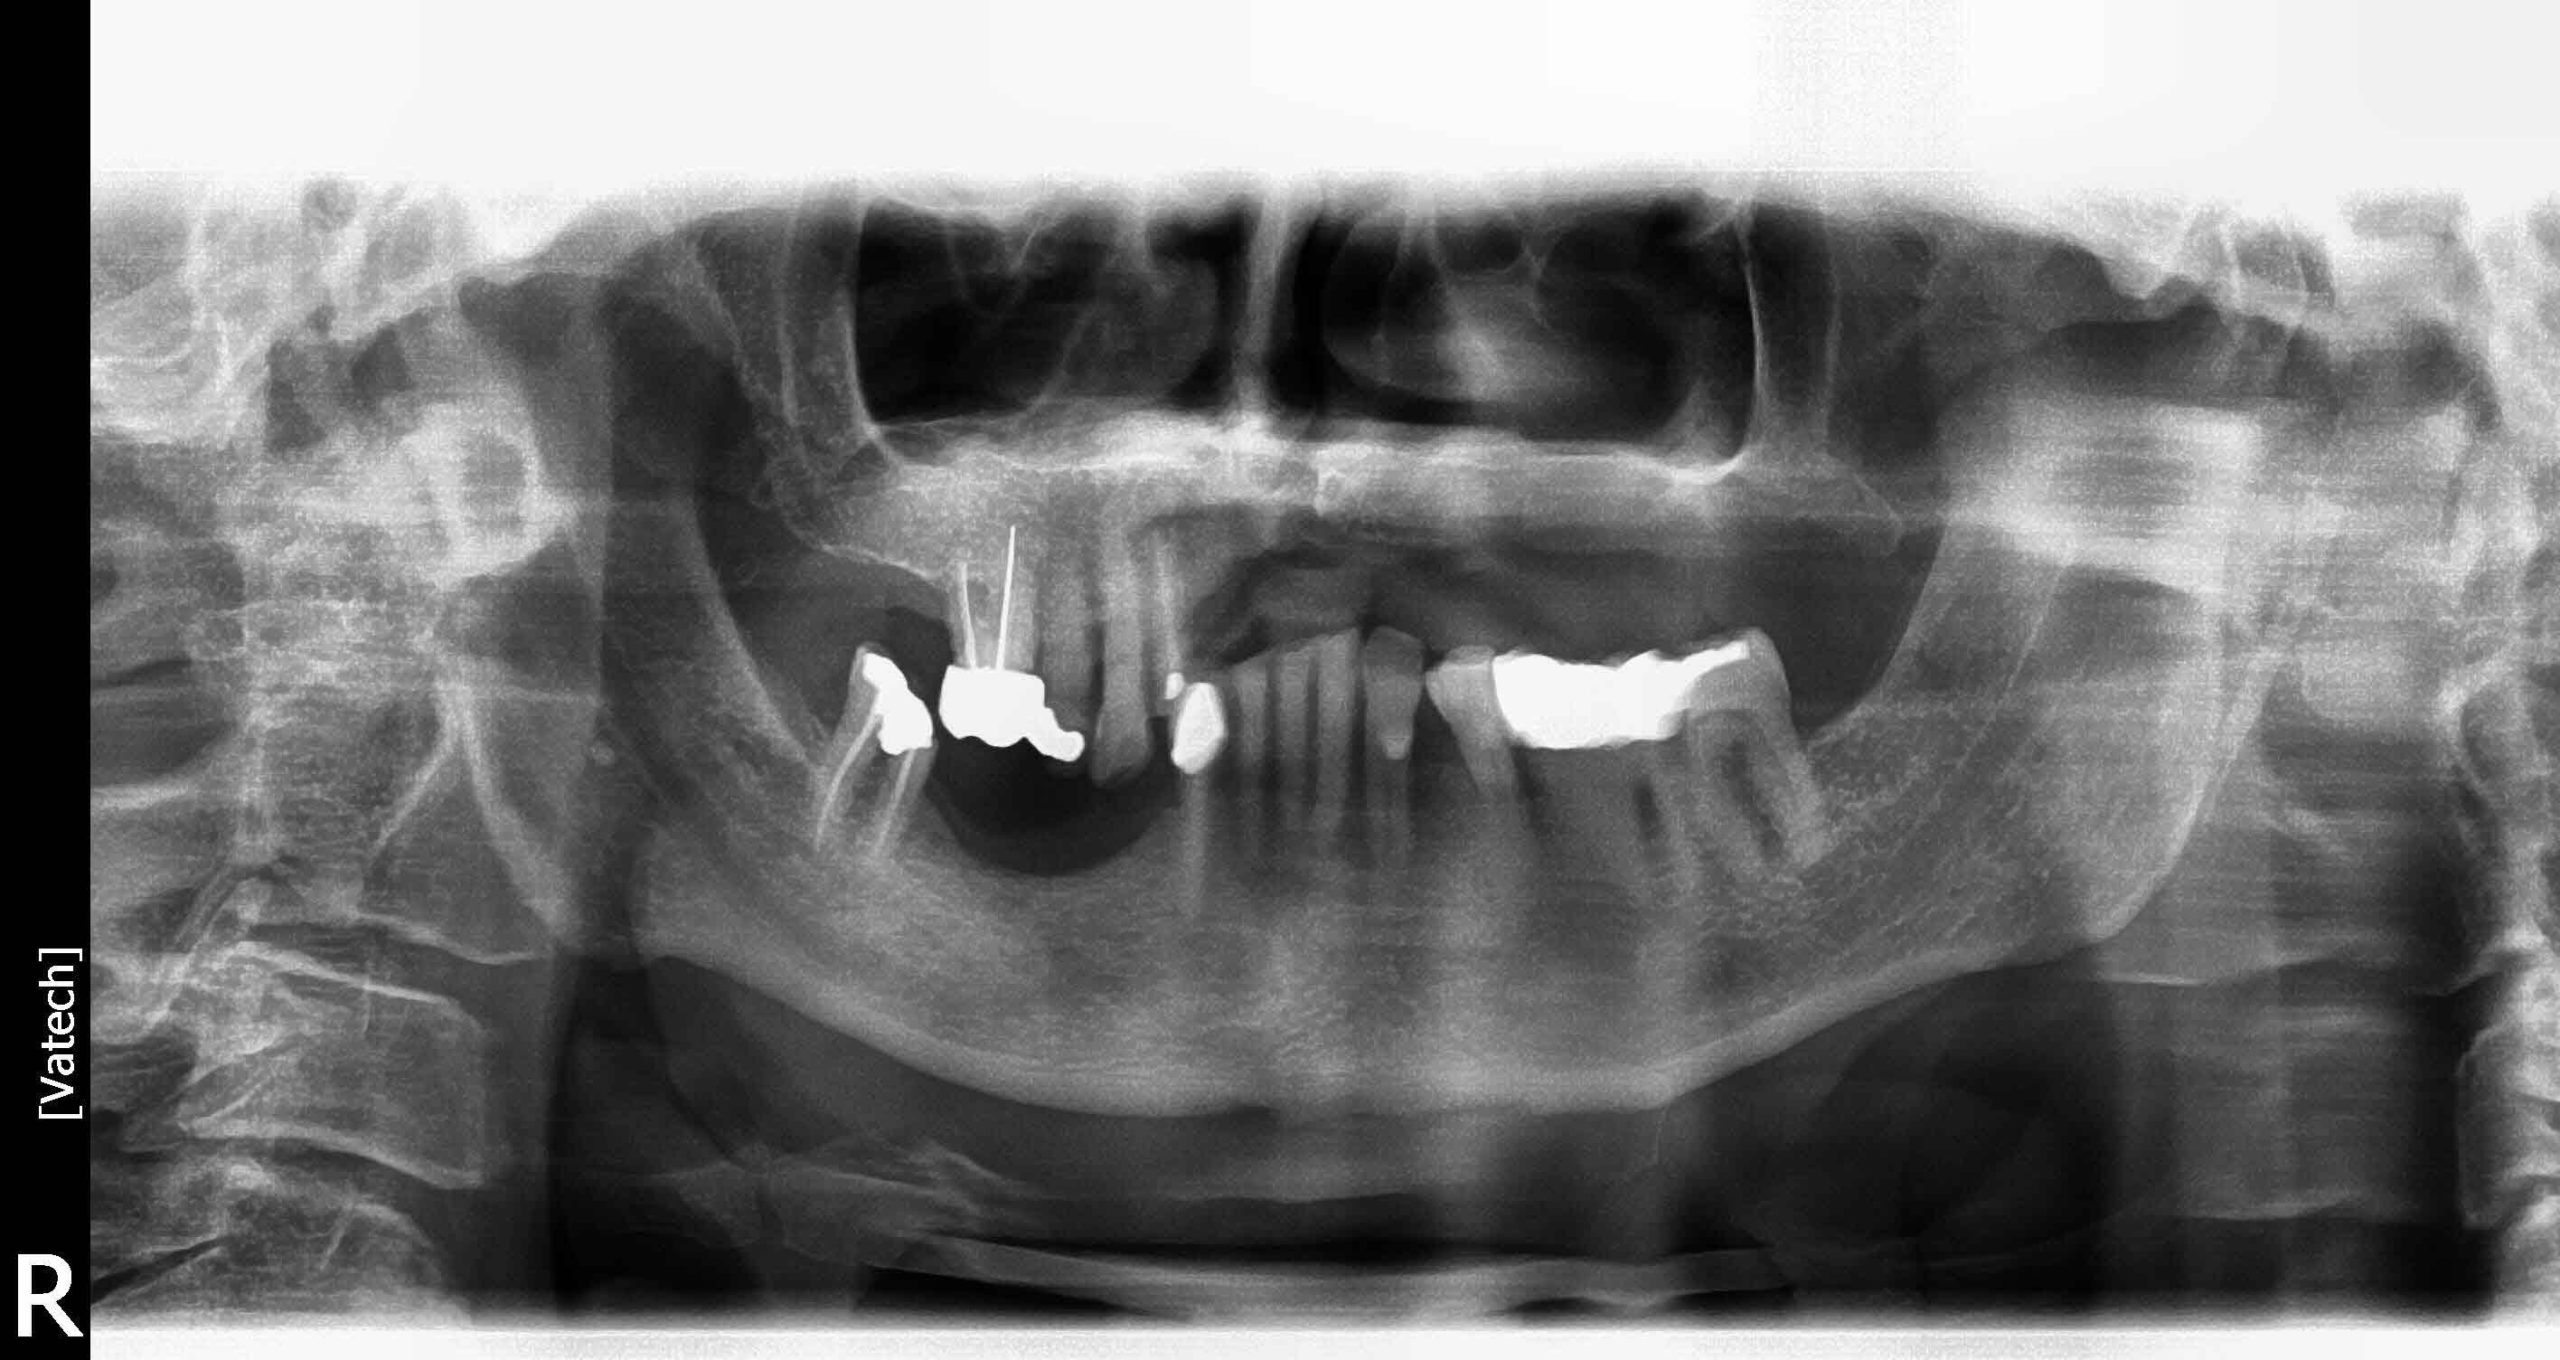
A joint clinic was held with the surgeon, the restoring dentist and the lab technician. In this clinic, all aspects of the case were assessed and discussed. As this was an extremely complex case, we soon realised the patient would need extensive surgery and implant placement to reach a desirable and functional result. We felt it was only right to gather all the knowledge we could, so we were fully equipped and ready to “deal” with the cleft palate in the best way possible.
We also decided that it would be advisable to consult with a maxillofacial specialist, as we were uncertain on whether it was viable to bridge the cleft palate or not.
After extensive research we all felt that the best course of action would be to make a removable implant retained appliance, in order for us to seal the hole in the cleft and to hopefully obtain a decent seal, so the patient would no longer experience food escaping through the nasal passage and also have the desired aesthetics that she was searching for.
We also agreed that it would be best to approach this case in several carefully planned stages, allowing time for each invasive part to heal properly.
Phase One of Treatment
The surgeon carefully studied the CT scans to assess the viability and bone levels that were needed for a successful implant placement. They came to the conclusion that they could quite happily obtain good stability for three implants on the upper right section of the maxilla and two implants on the upper left section. This would enable us to have a few options for the definitive restoration. We also decided that to obtain good masticatory function and to re-stabilise the OVD it was necessary to place implants in the lower right posterior quadrant of the mandible. Thus fully restoring and stabilising all quadrants.
In order to achieve an ample space for the implant restoration on the maxilla, it was decided that a partial osteotomy was needed when removing the remaining teeth to help to even out and flatten the ridge. To allow for the tissues to fully settle down and heal, the surgeon decided it was not the right course of action to place the implants at the same time as the extractions and osteotomy. For this stage we have made an immediate full upper temporary denture.
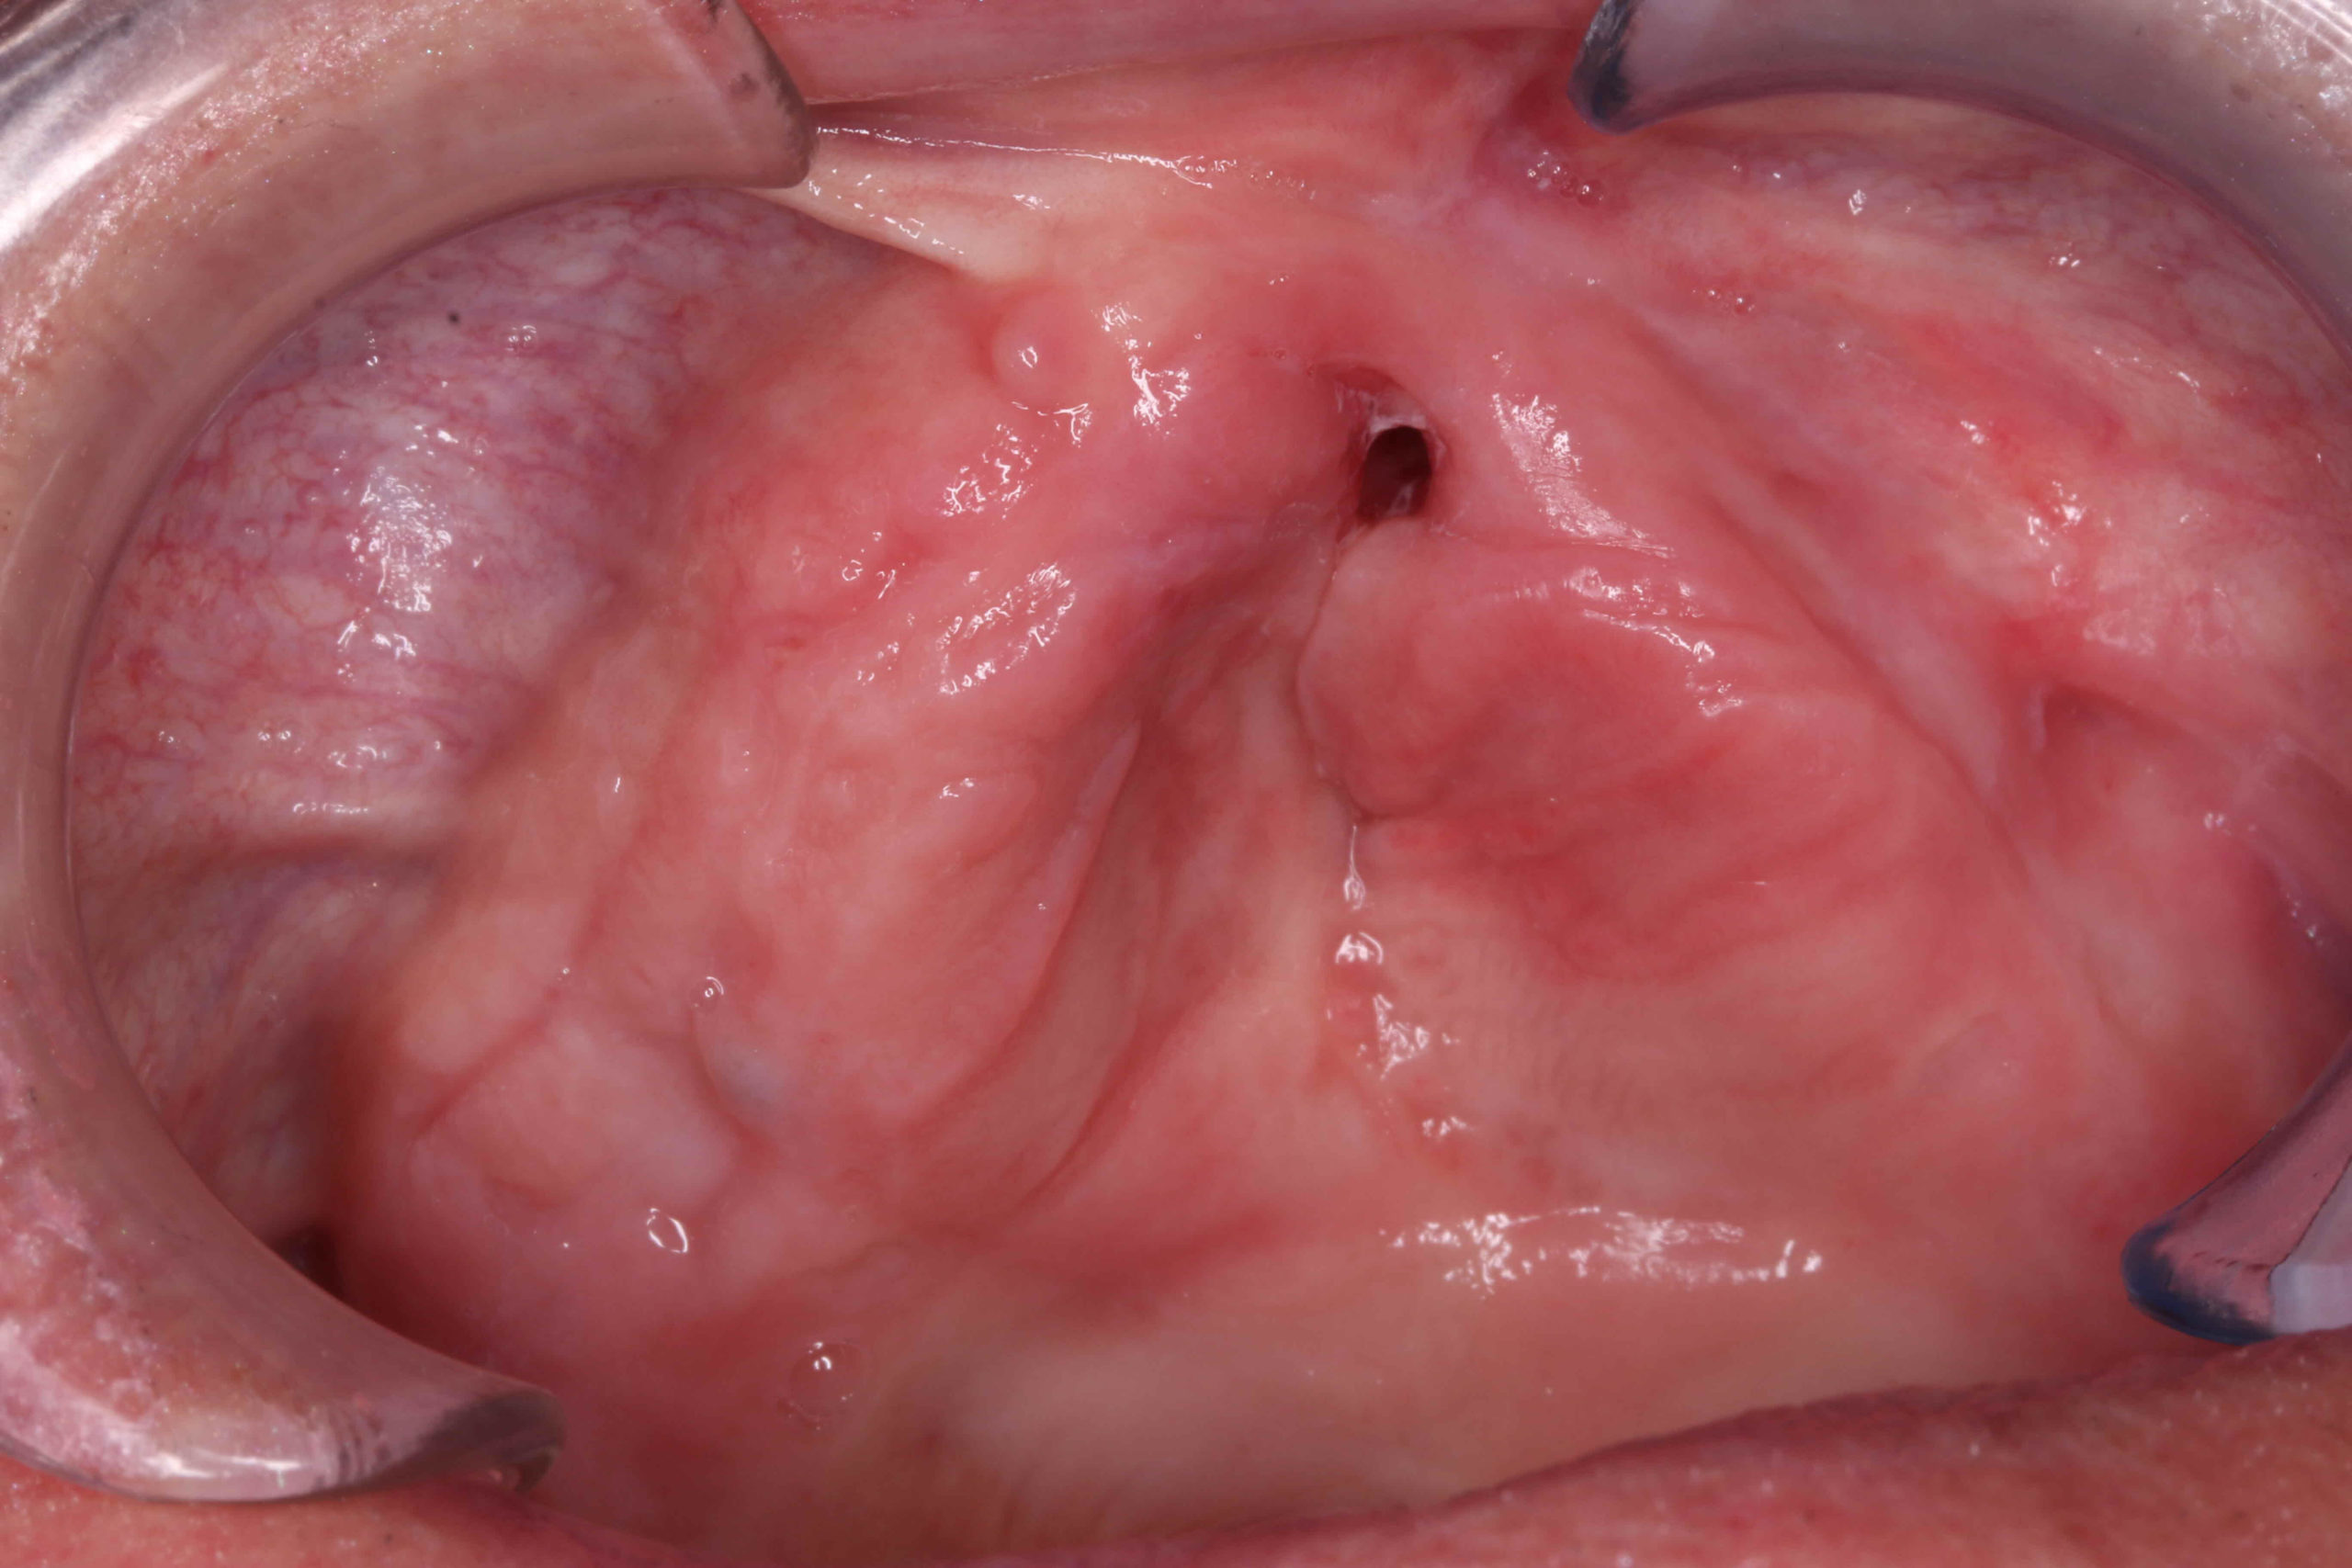
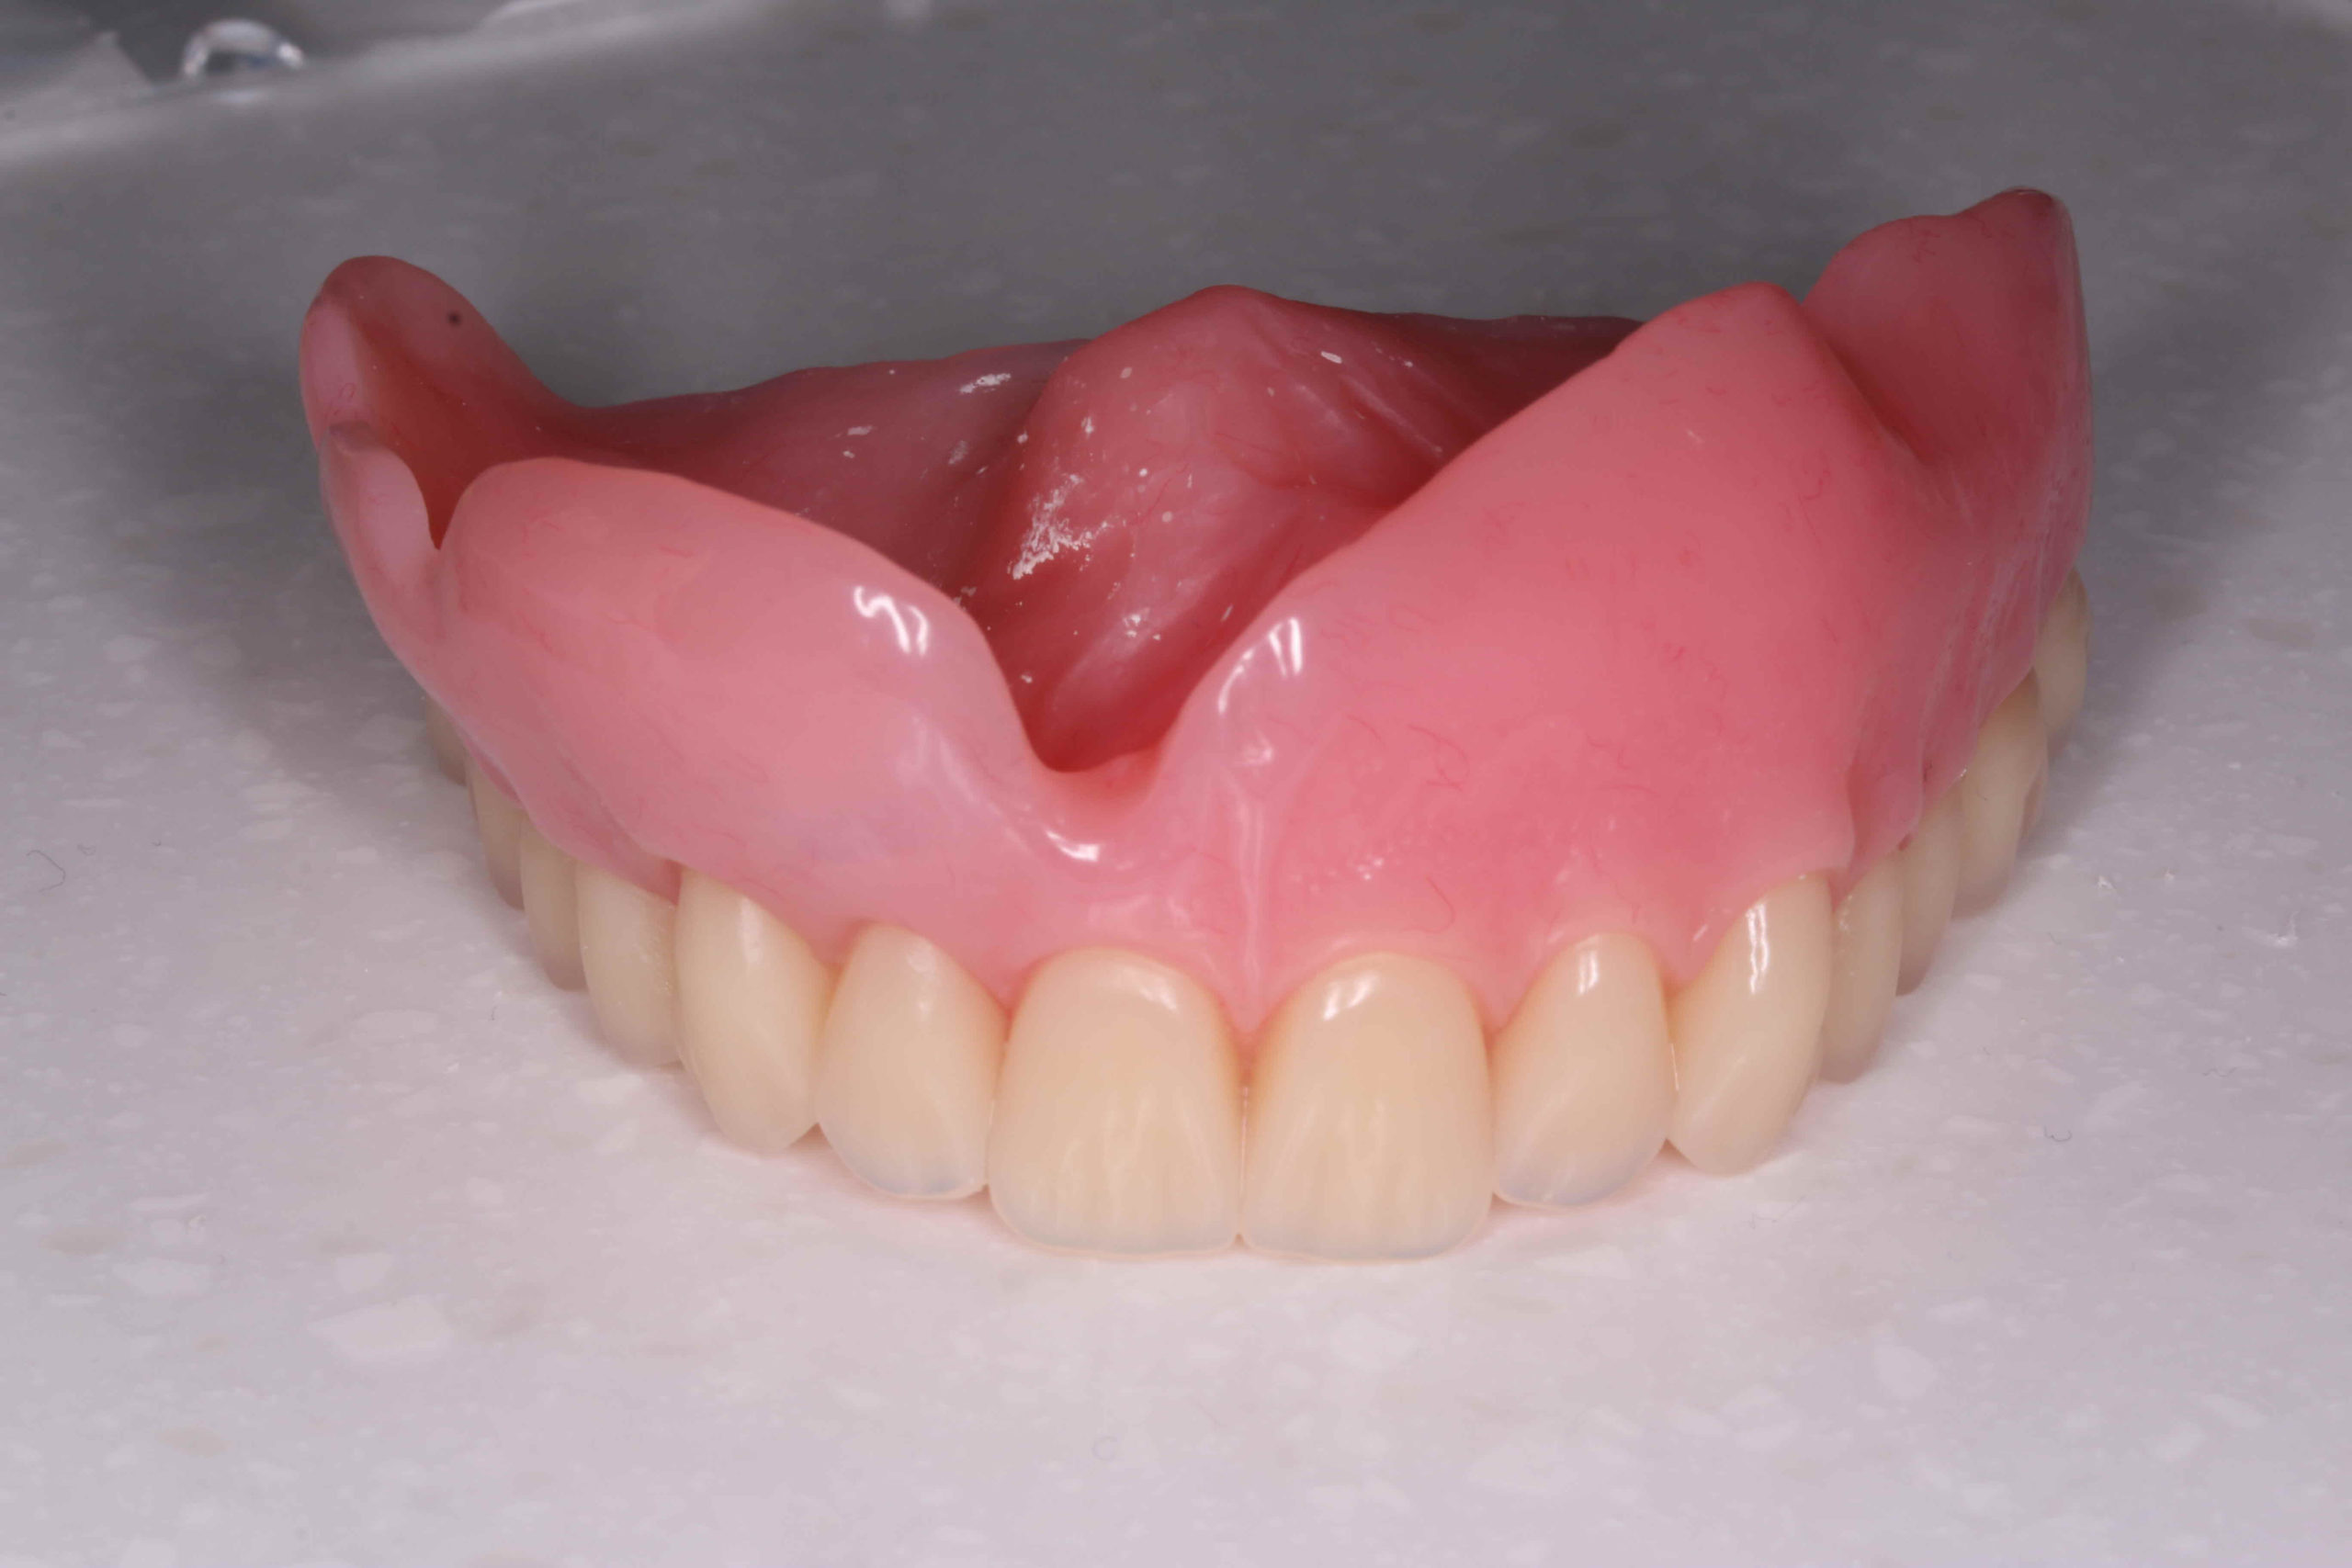
Following this course of action has left us with a solid and fresh foundation to begin rebuilding our patient smile.
Phase Two of Treatment
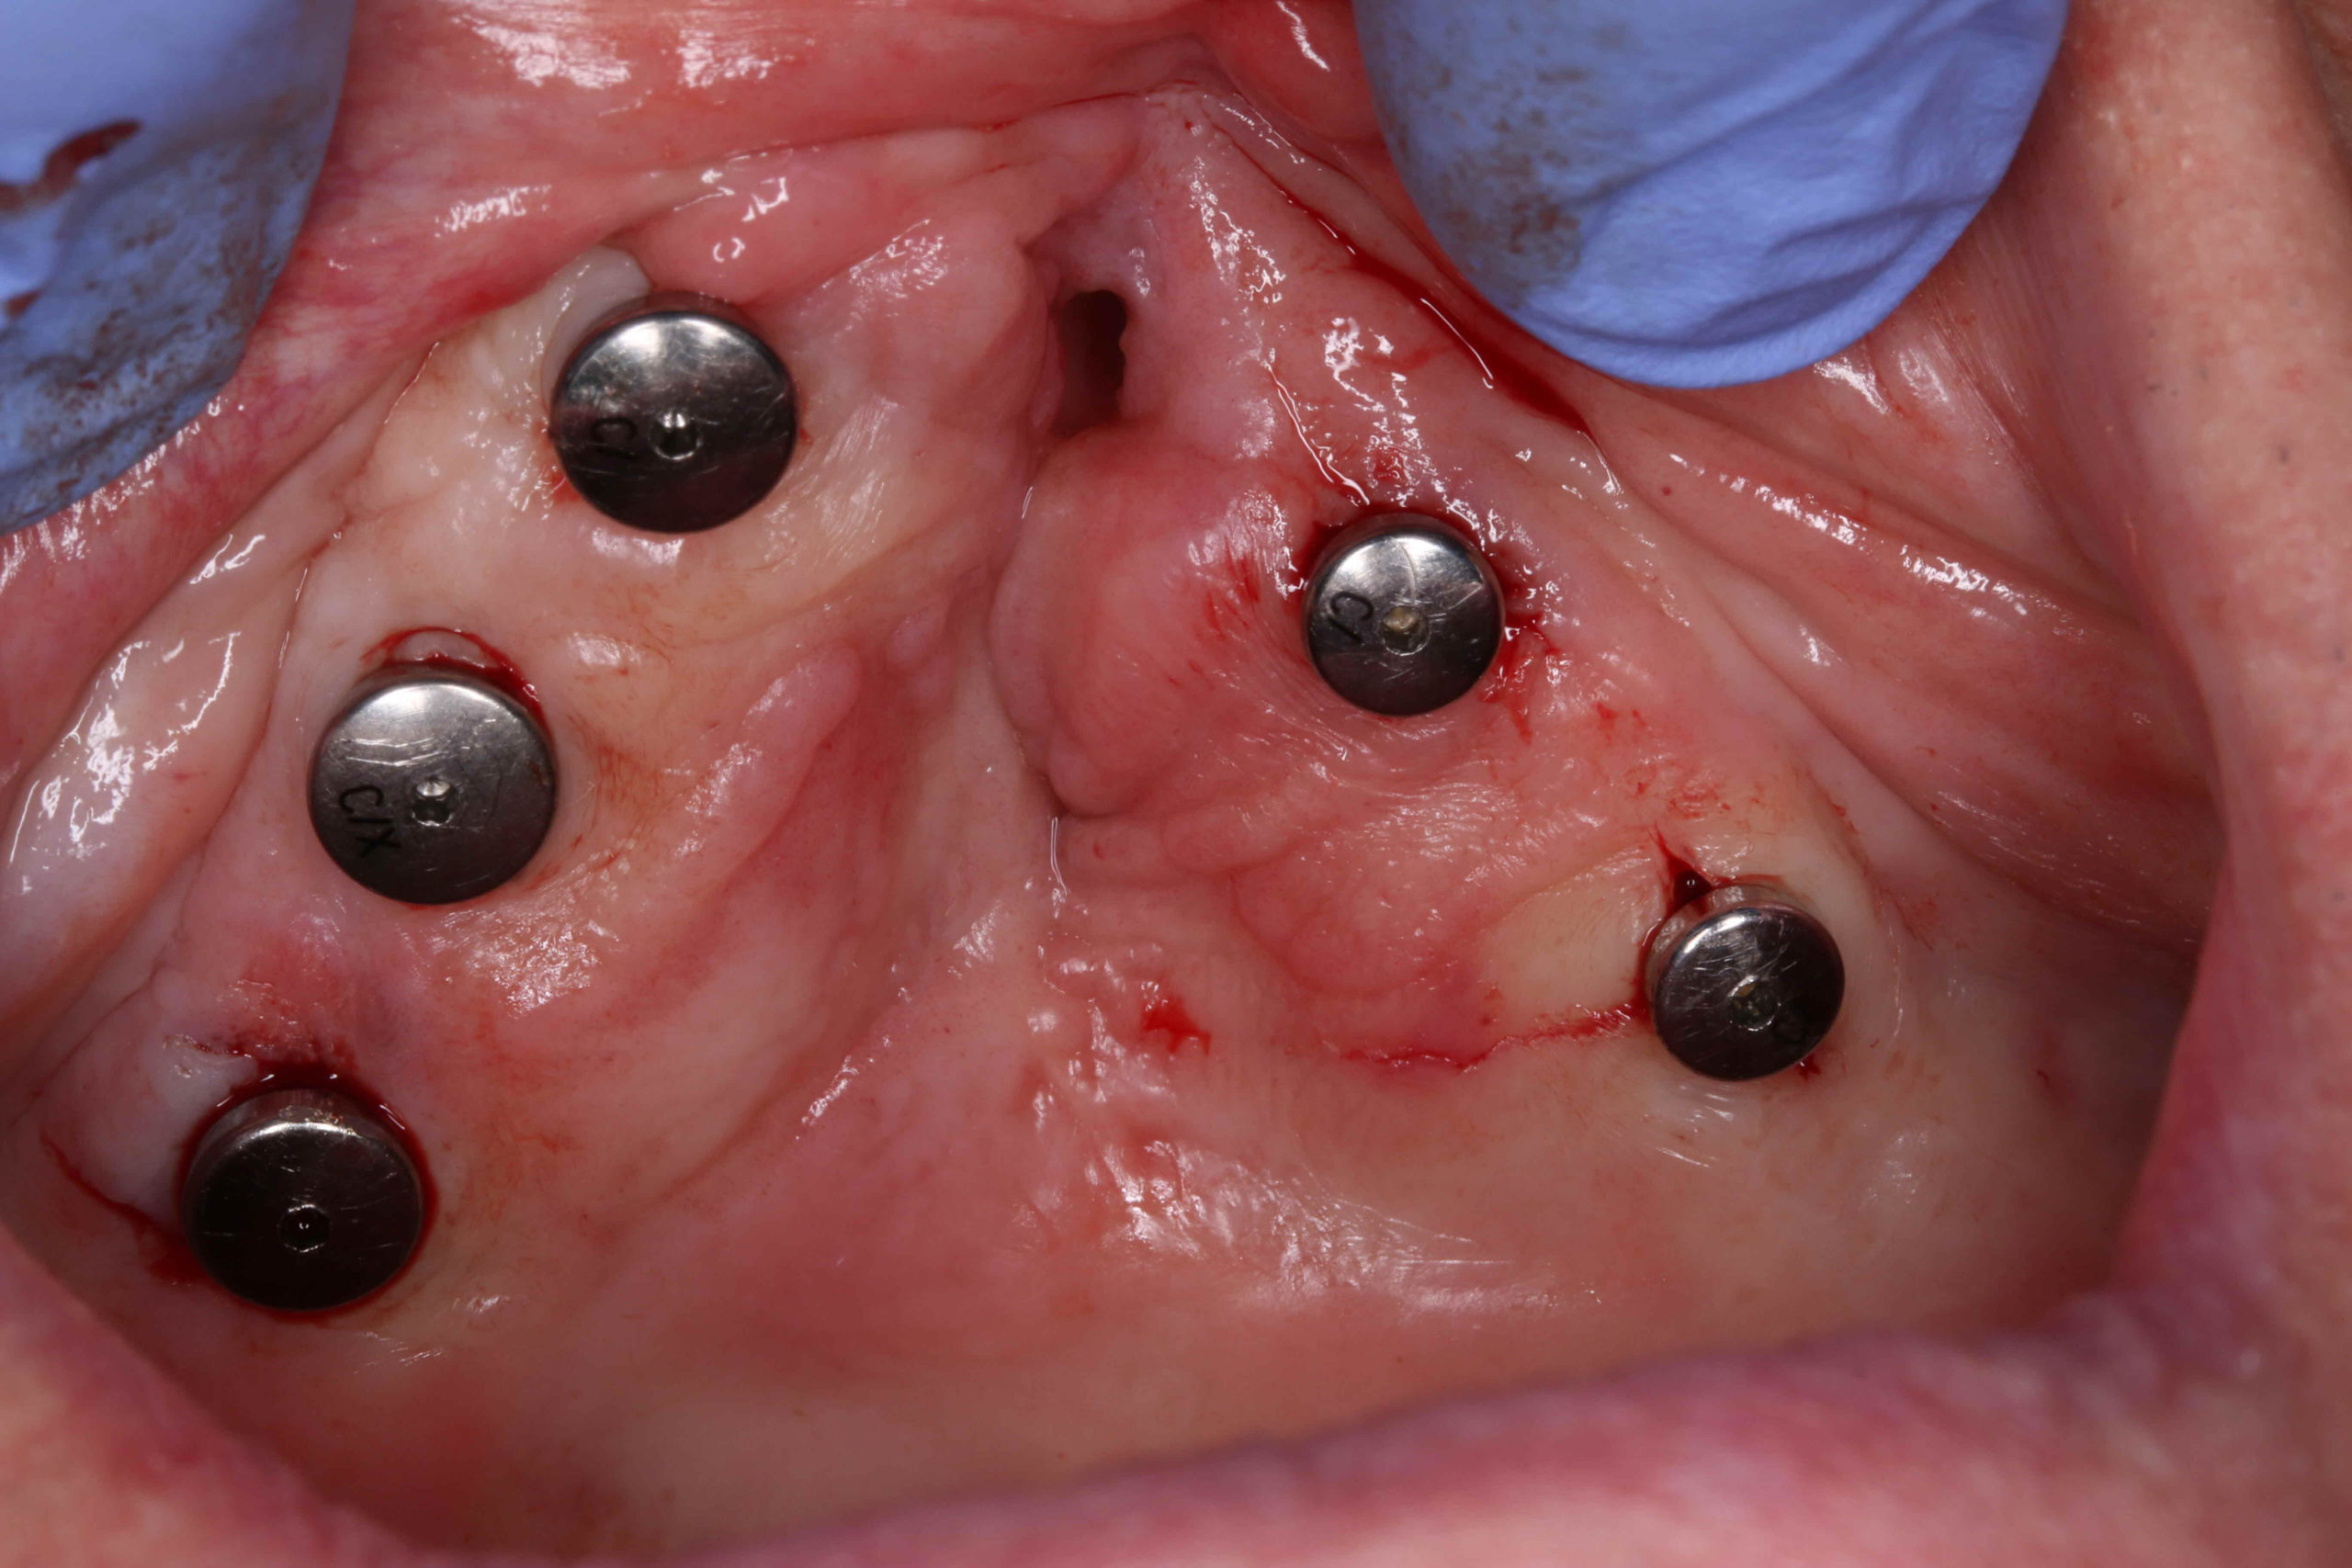
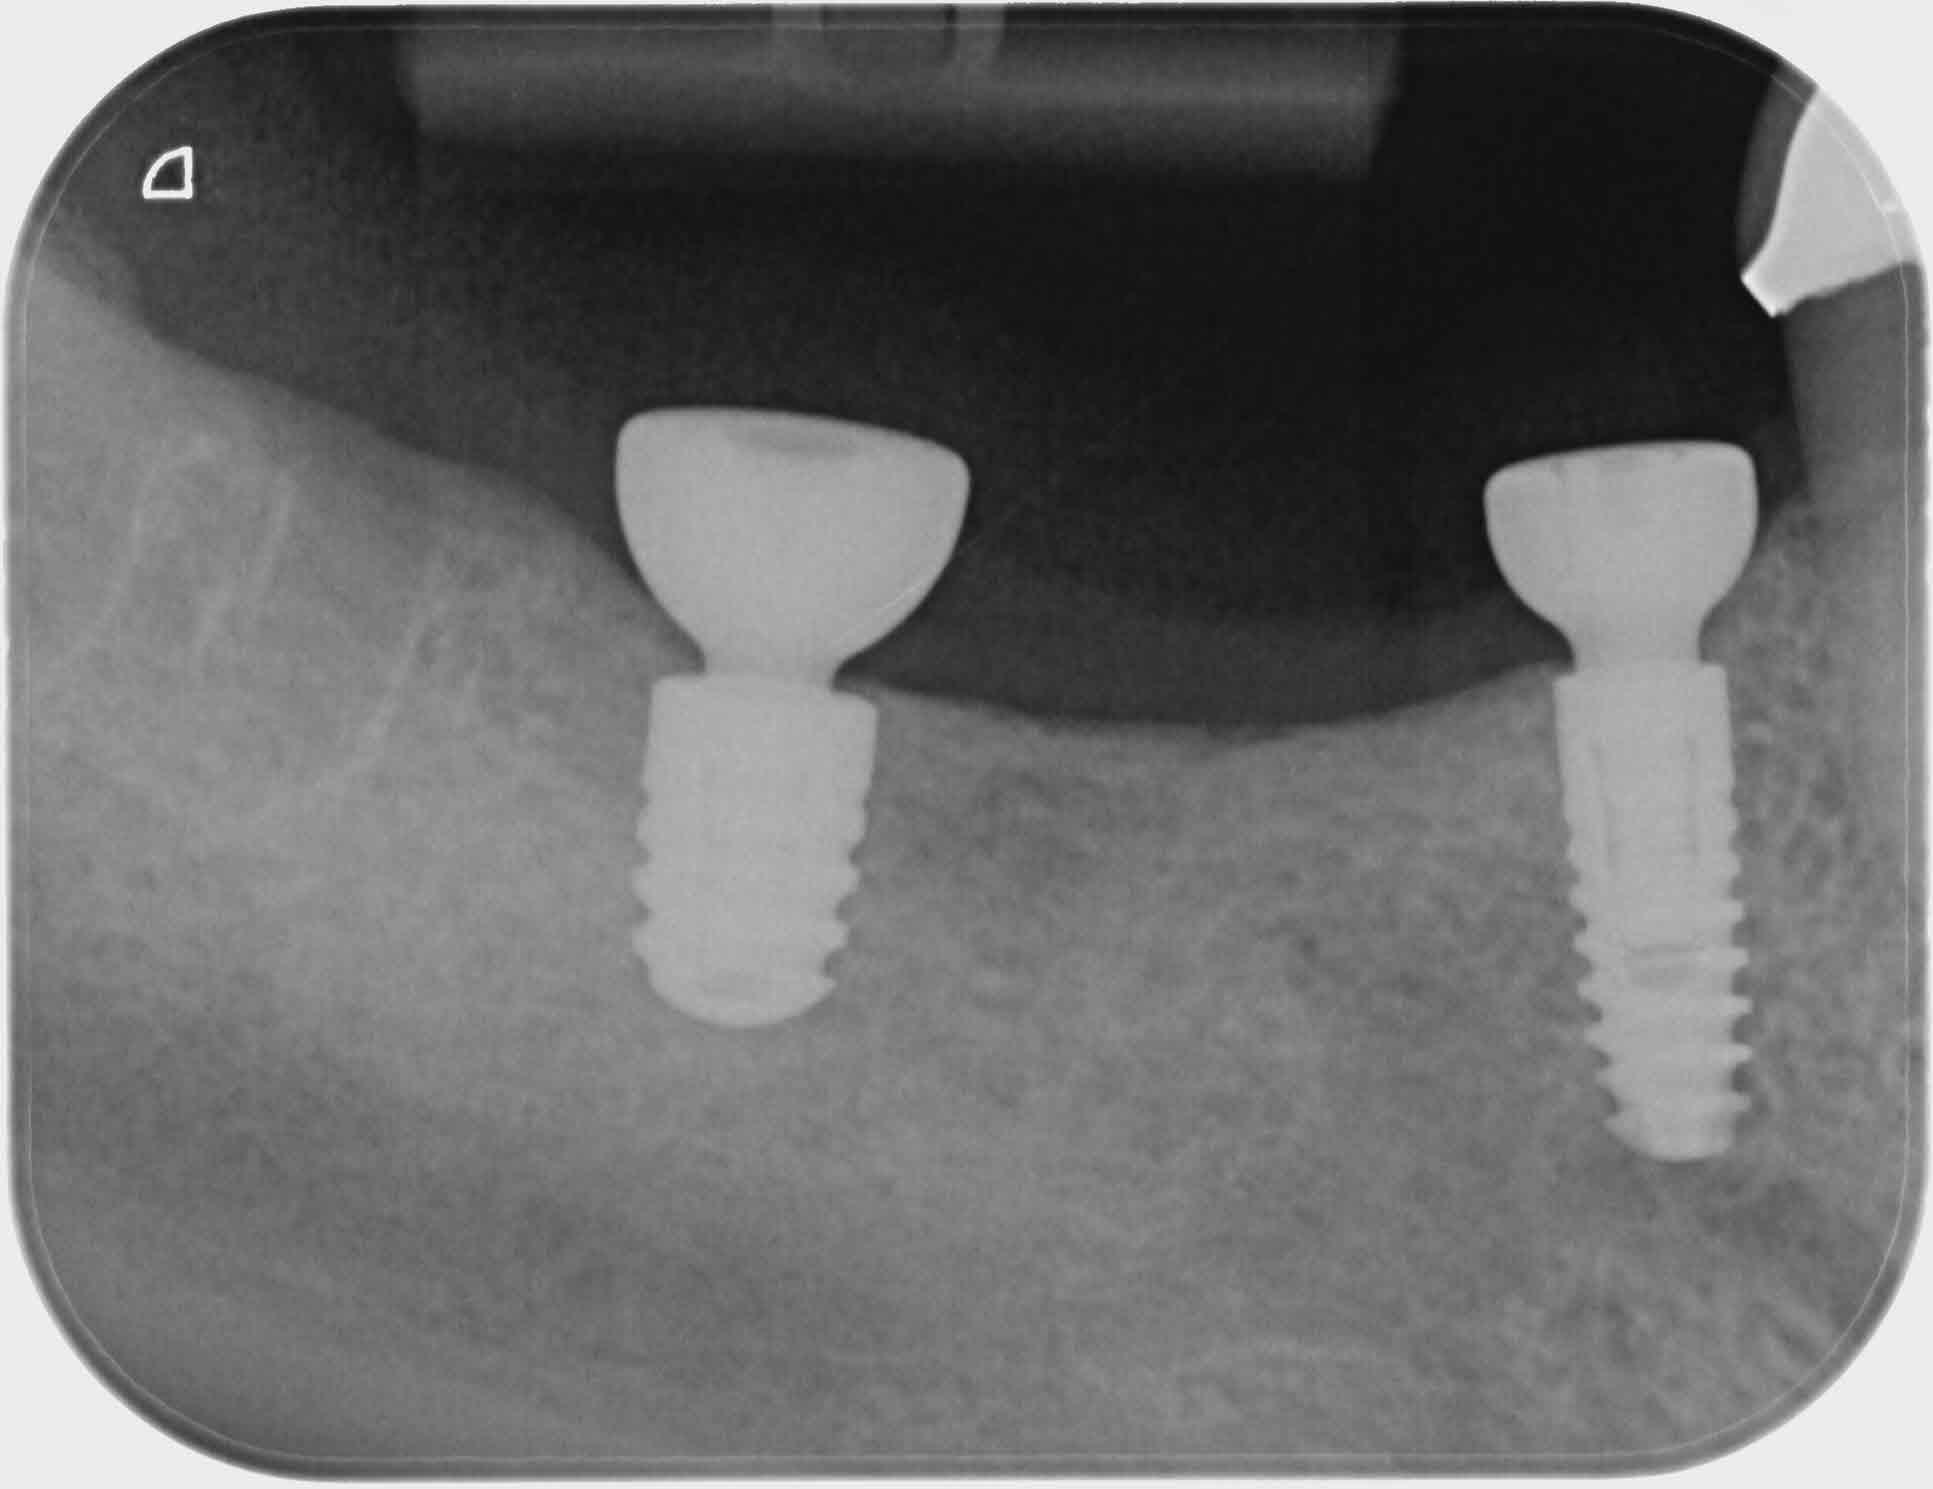
After a two month healing period the surgeon was ready to place the implants in the upper and lower jaws.
He decided to “bury” the lower implants but to leave the upper ones uncovered with healing caps on. He then chairside soft relined the temporary upper denture around the implant healing caps in the hope of providing a restoration stable enough for the three month integration period.
Phase THREE of Treatment
Unfortunately during the integration period, the upper left implant closest to the cleft failed to integrate. The surgeon was concerned that the cause could’ve been the denture “rocking” against the implants. It’s quite common for a tissue borne denture to cause bone loss around implants. It also wasn’t helped by the fact that the denture no longer fitted, with a mass of soft lining it was completely unstable.
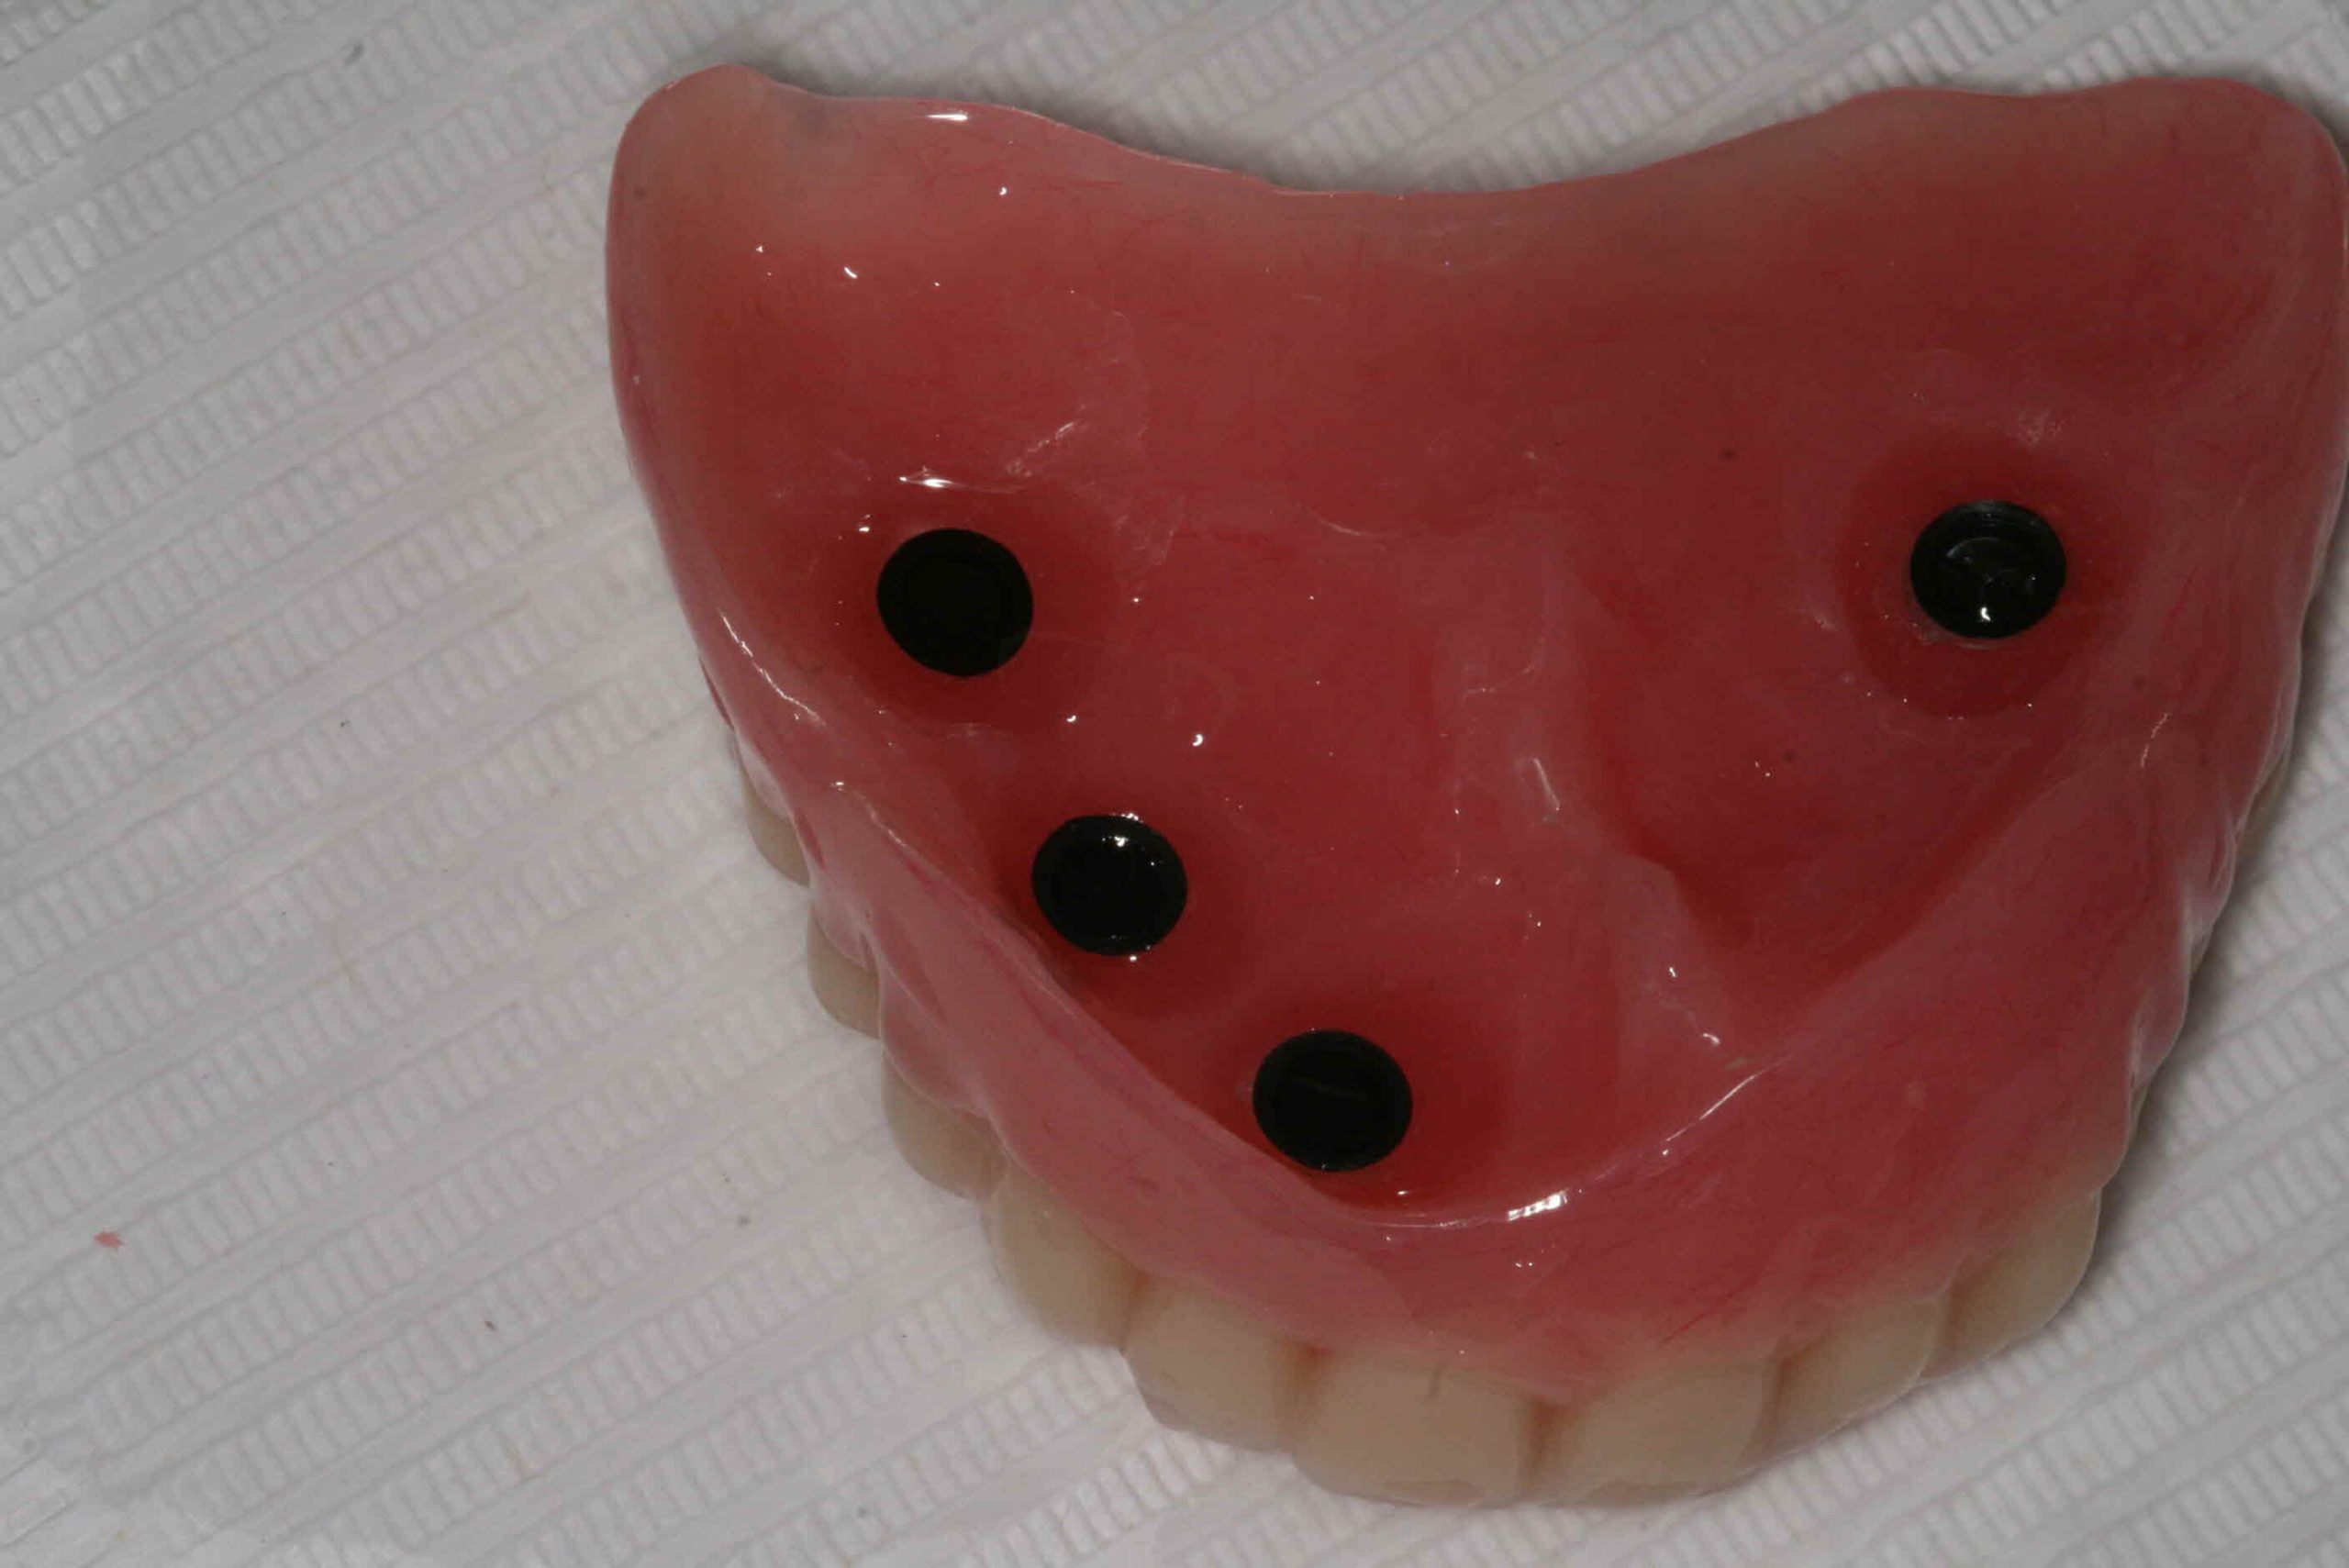
It was time for the collective to get our thinking caps on again to figure out the best way to temporarily stabilise the denture on the remaining implants. It was decided that we would still utilise the existing temporary denture by stripping out the soft lining, taking a wash impression and doing a hard reline to get a more accurate and precise fit.
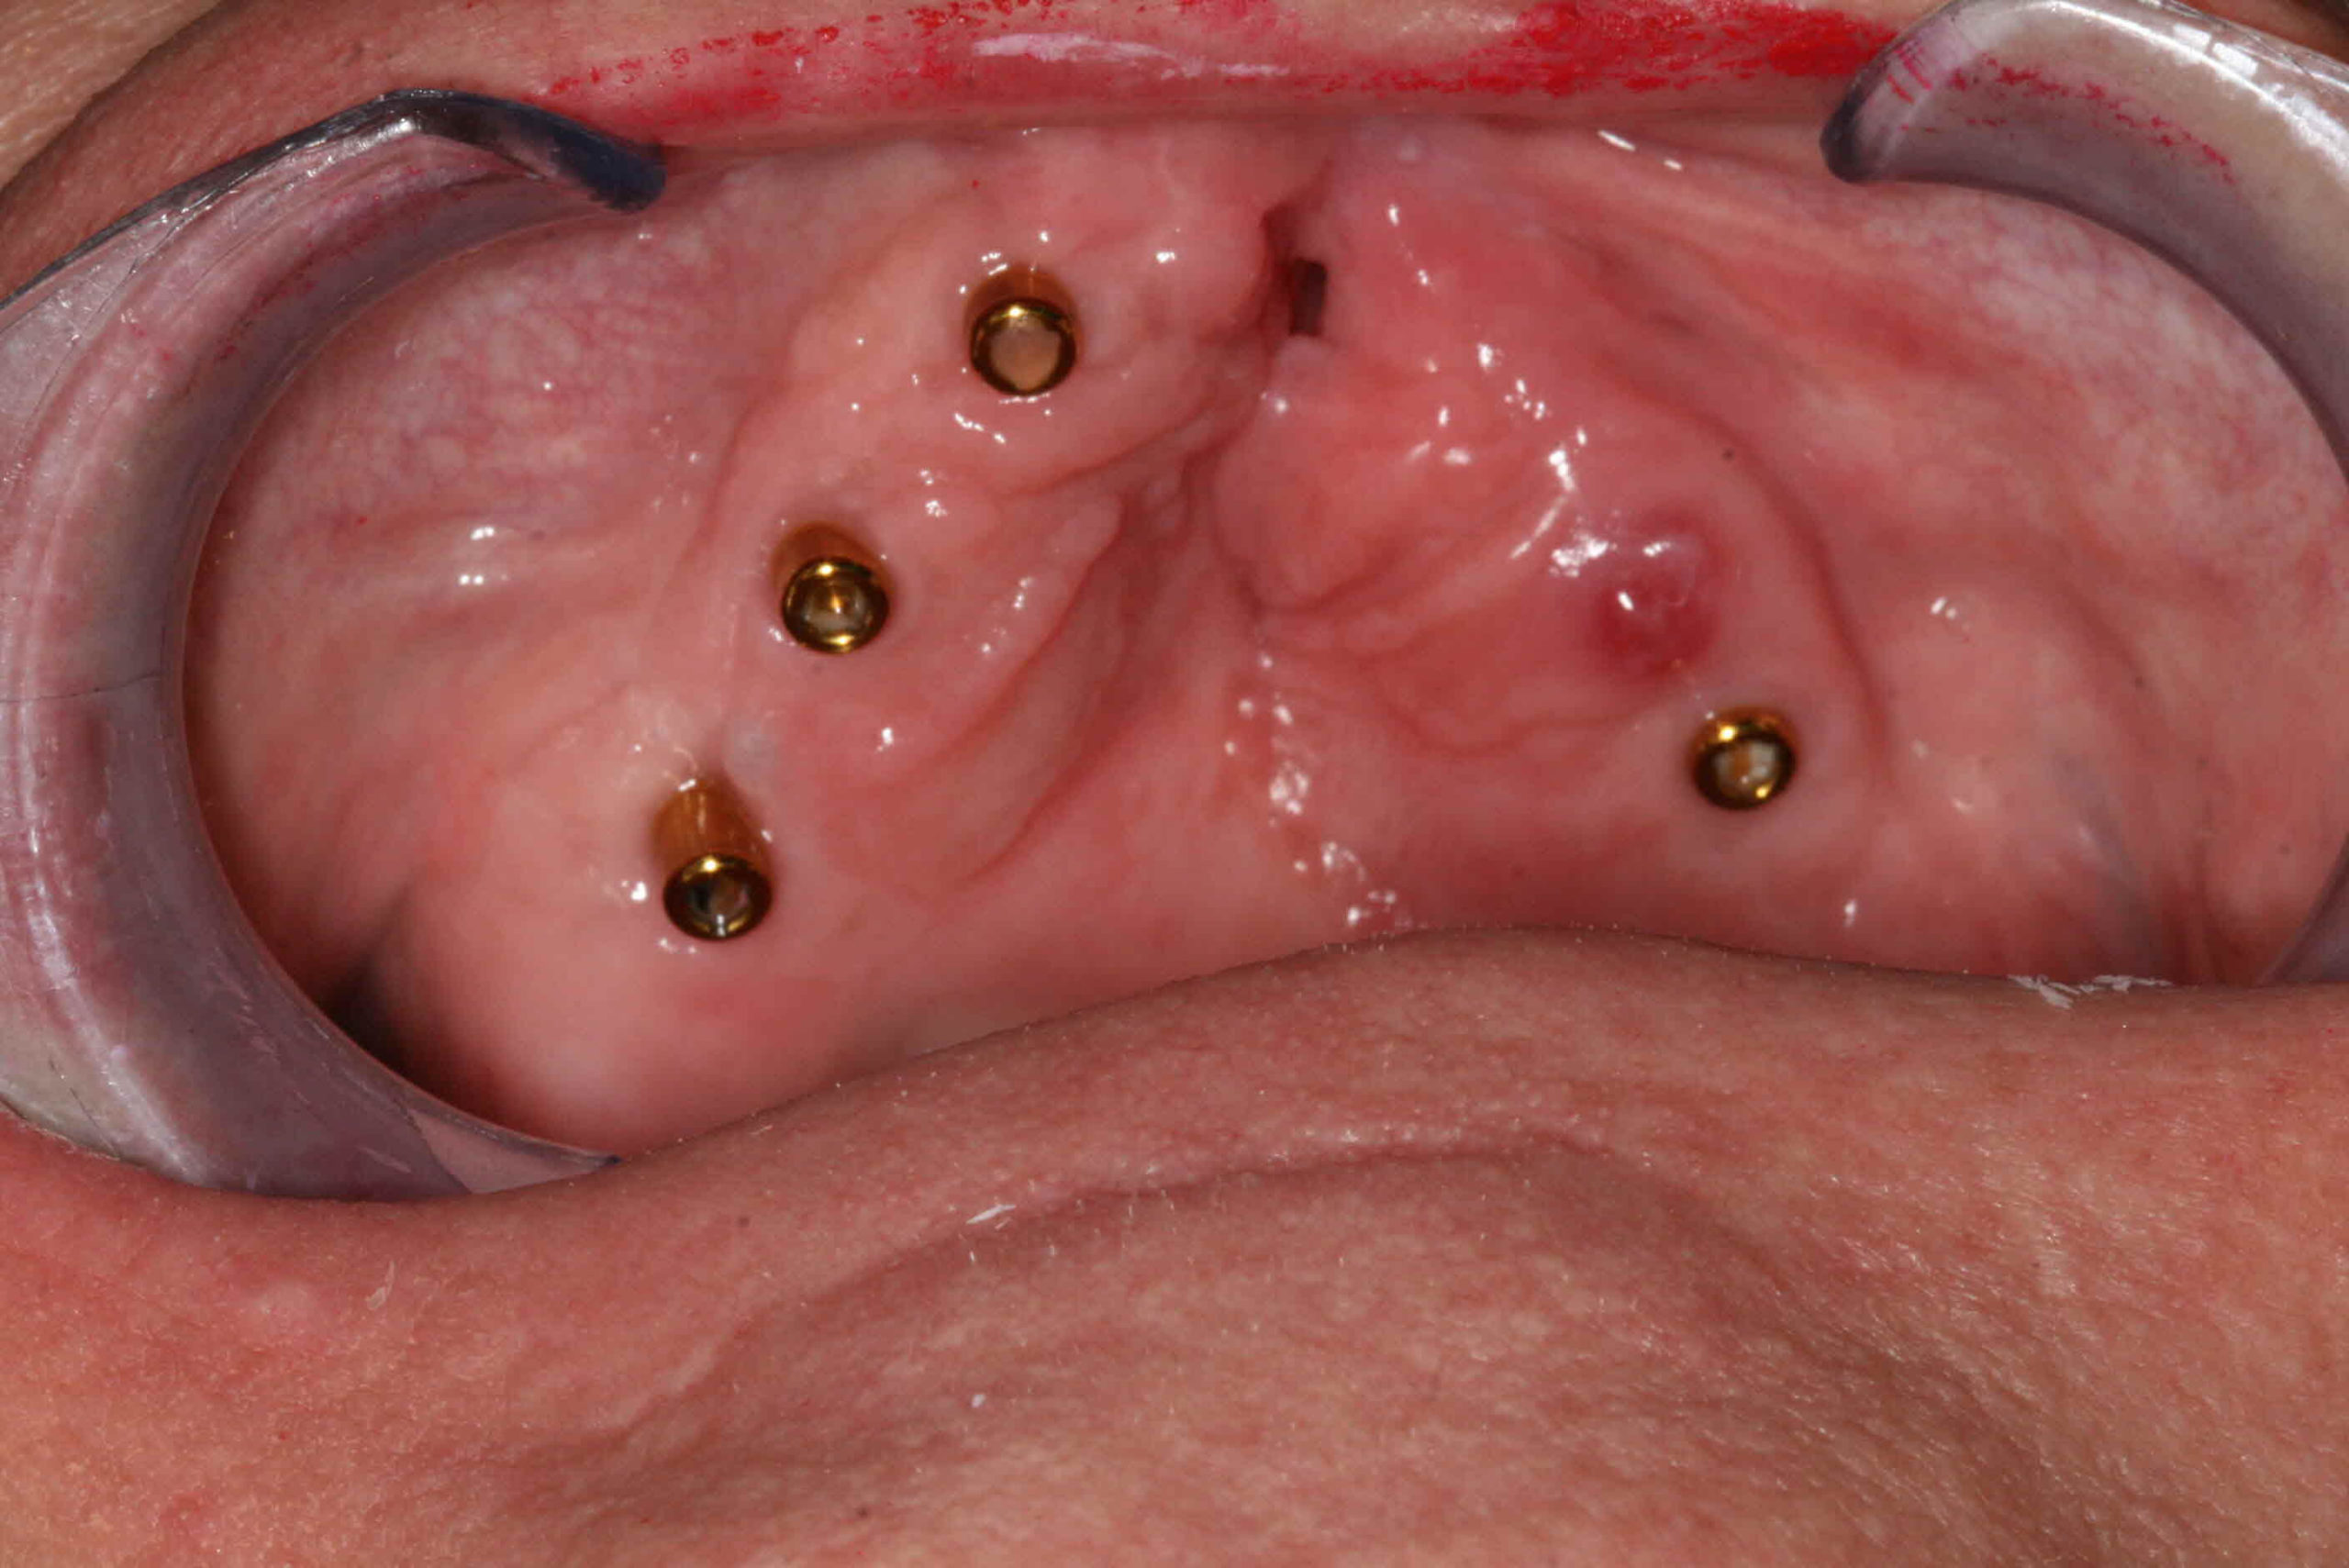
We would then attach the temporary denture to locator abutments in the mouth. This would also enable the surgeon to place a new implant and “bury” it for the integration.
The restoring dentist took an implant level impression so we could measure for the correct height of the locator abutments needed.
We then set to work doing a chairside intraoral pick up of the locator caps in the denture.
This was a complete game changer. All of a sudden the patient could start to see the benefits of all these different stages. Not only was the denture now secure and retentive but we had managed to create a good enough seal, that for the first time in her life, the patient was able to eat without food escaping through the cleft palate.
Phase Four of Treatment
It has now been one year since the initial consultation, team meetings and first draft planning. All the implants passed the osseointegration check and soft tissues healed beautifully, ready for the last stage of the treatment.
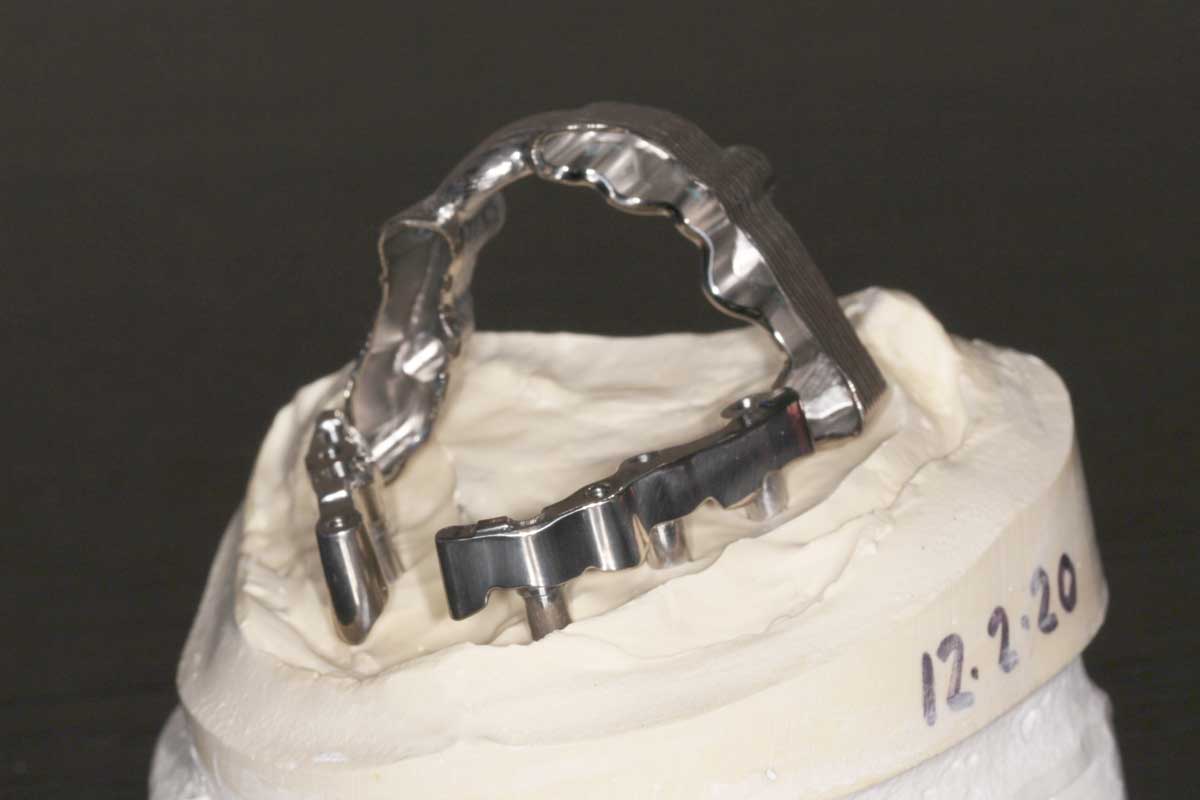
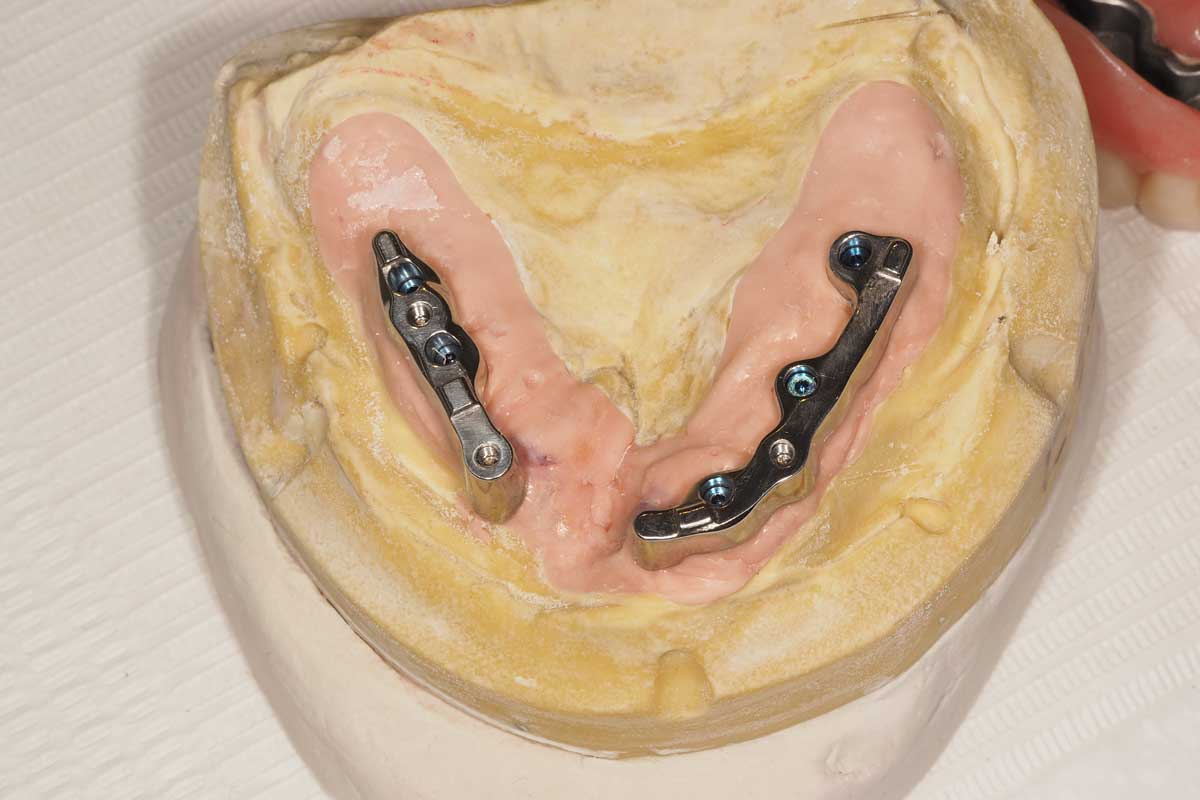
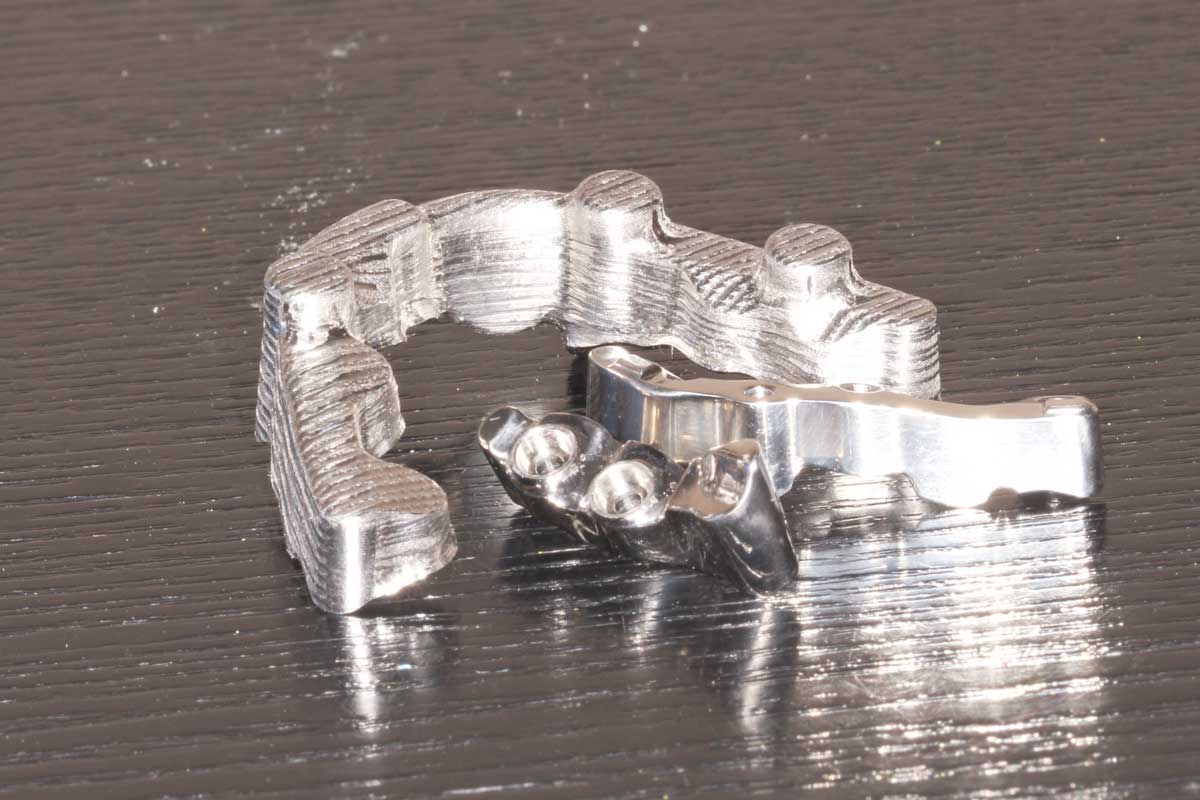
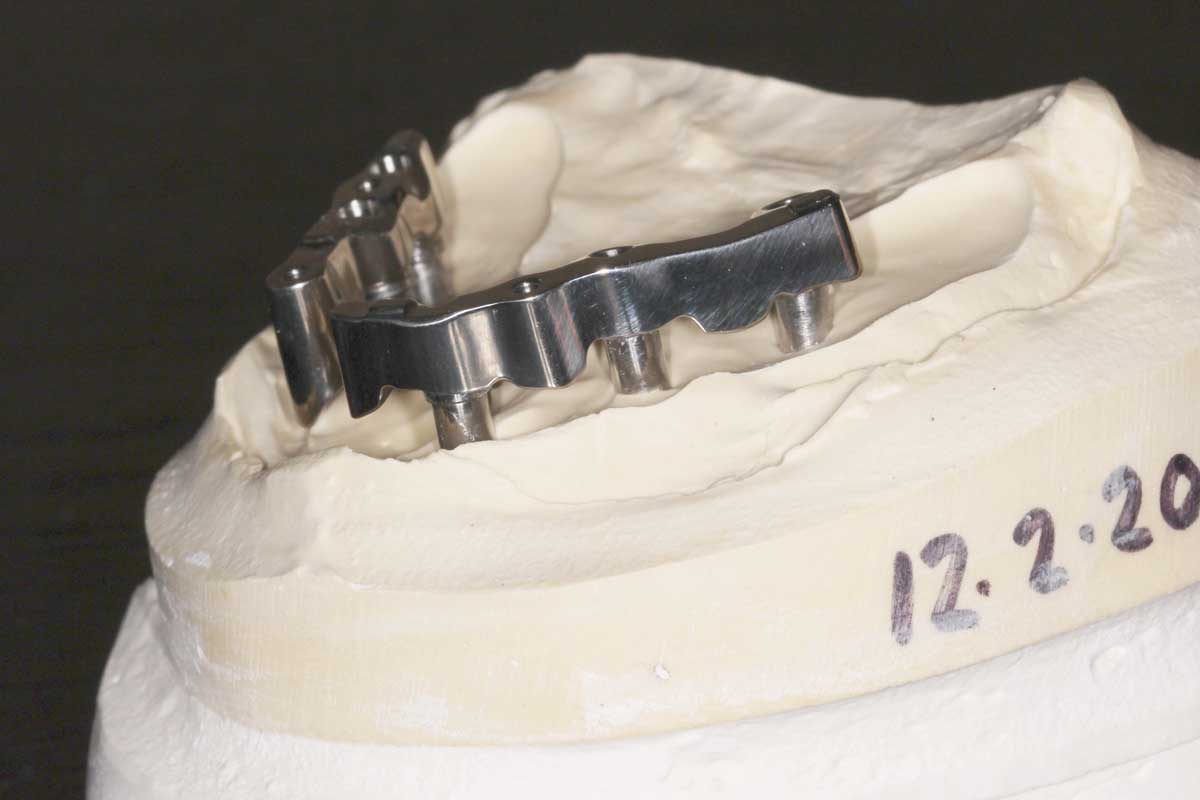
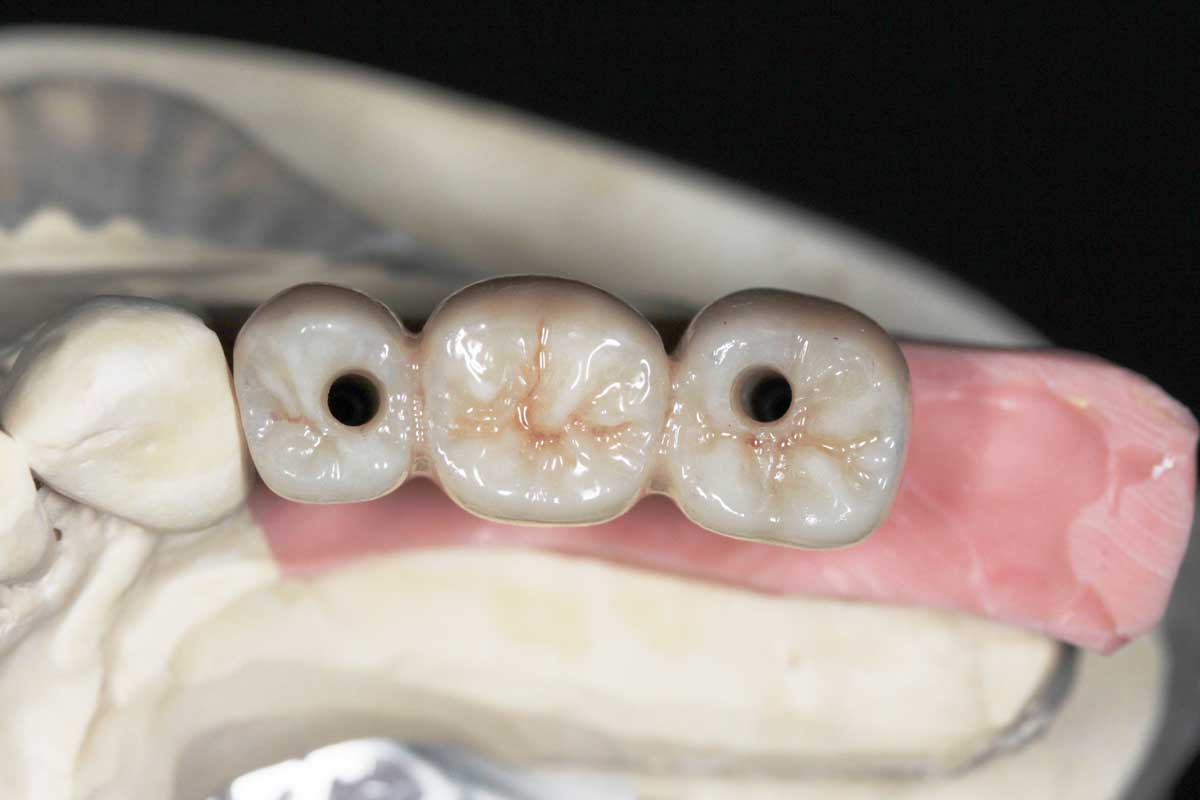
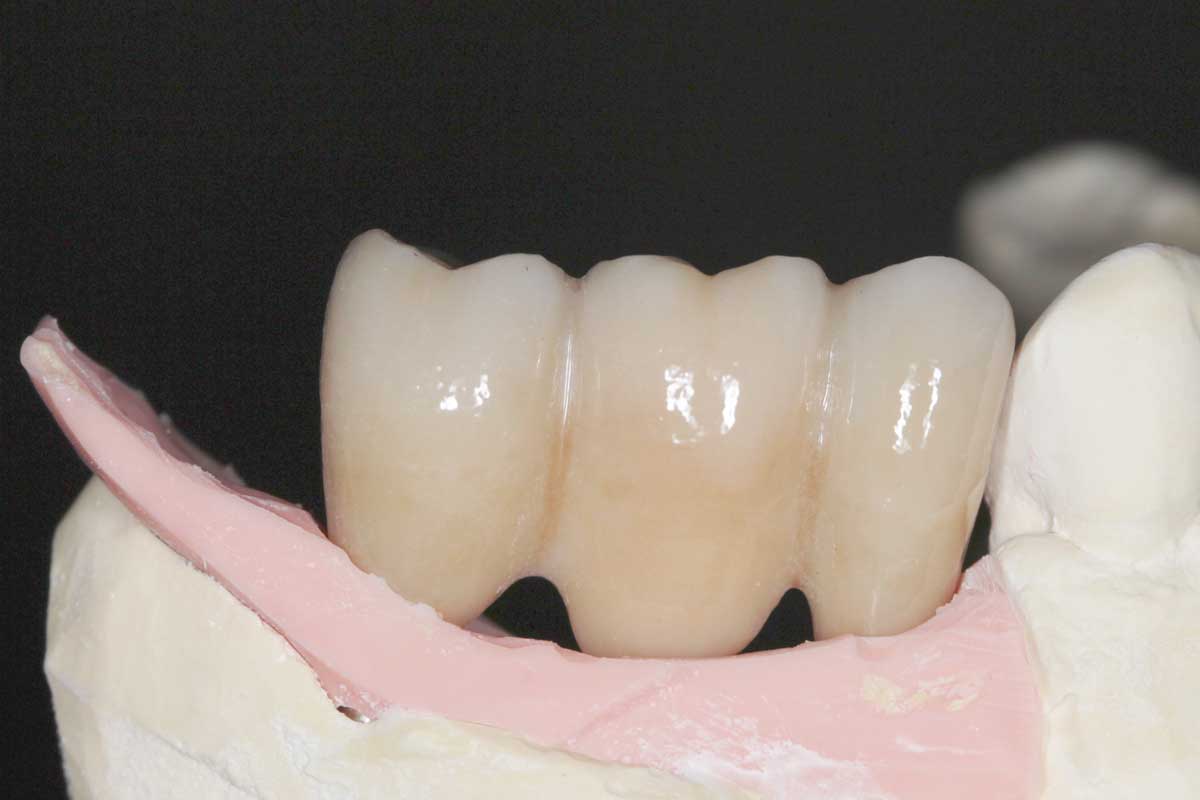
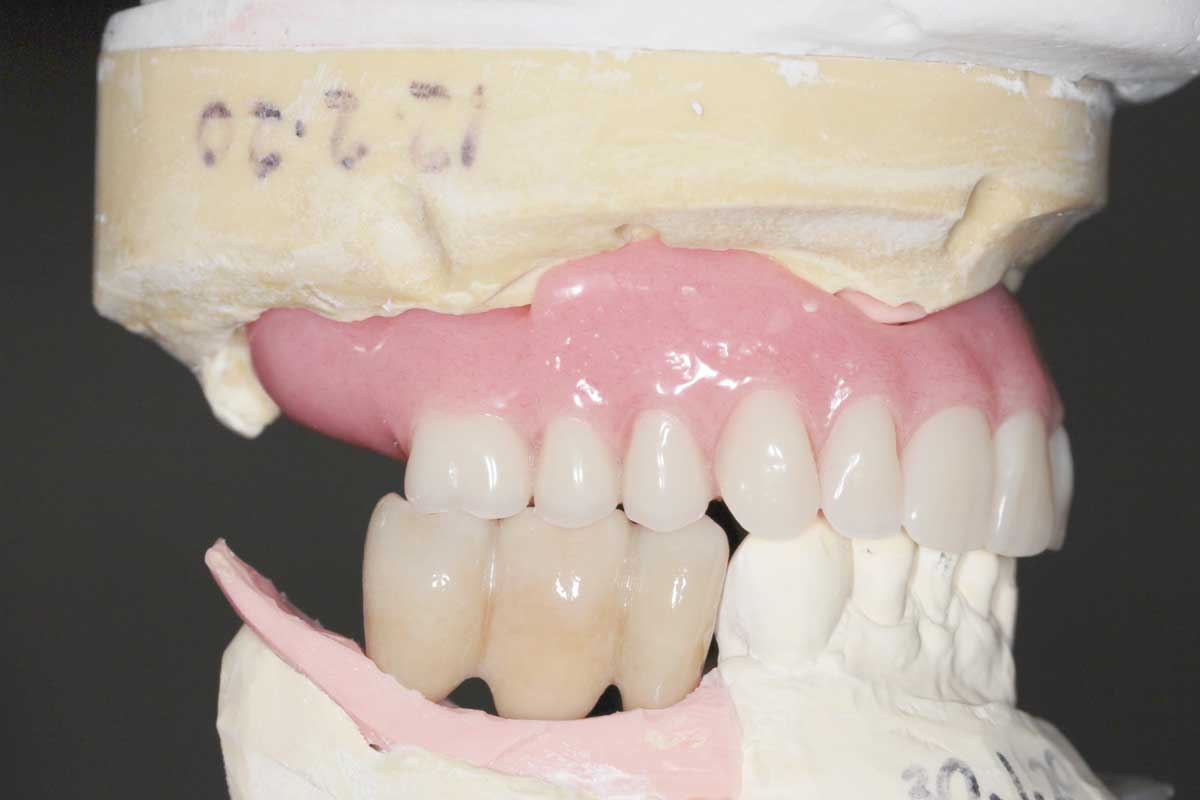
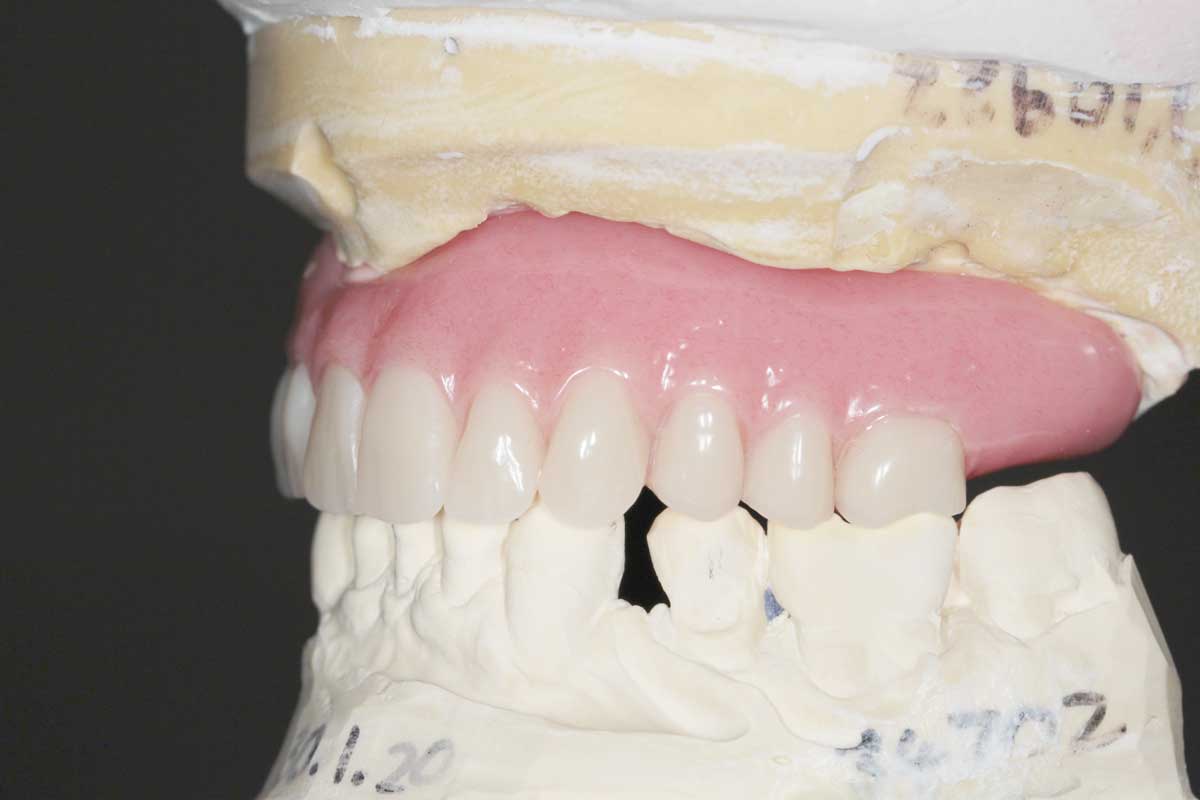
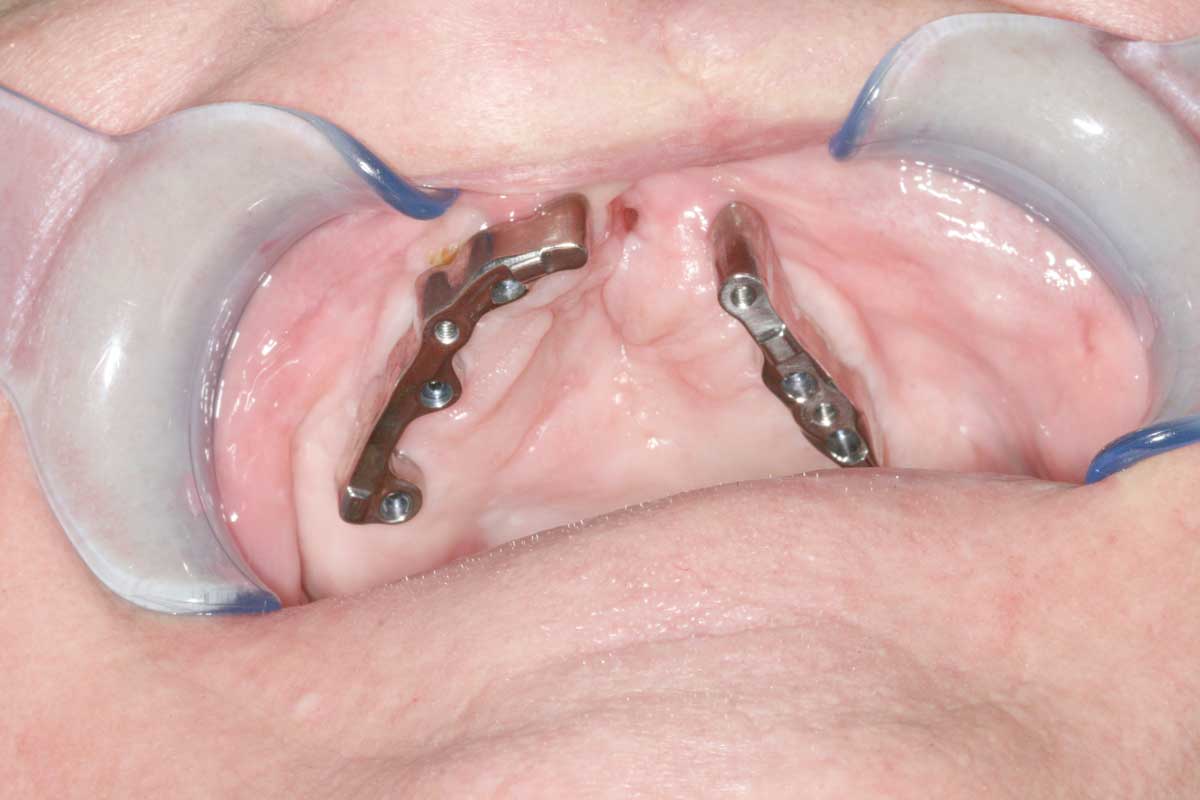
We decided that we would achieve the best outcome by manufacturing two separate splinted milled precision bars and metal supported overdenture for the maxilla and screw-retained zirconia restoration for the mandible.
The titanium metal work was designed and milled by Atlantis. It was designed to also incorporate precision attachments, however during the wax stage try-ins, we have observed very satisfying fit and retention, so as a team we have decided not to use the attachment straight away but to “hold onto ” them for the future. It would mean that if over the years the denture would become unstable or loose (due to wear off the materials or changes to the tissue) we will have a “plan B” of adding the attachments and re-stabilizing the restoration.


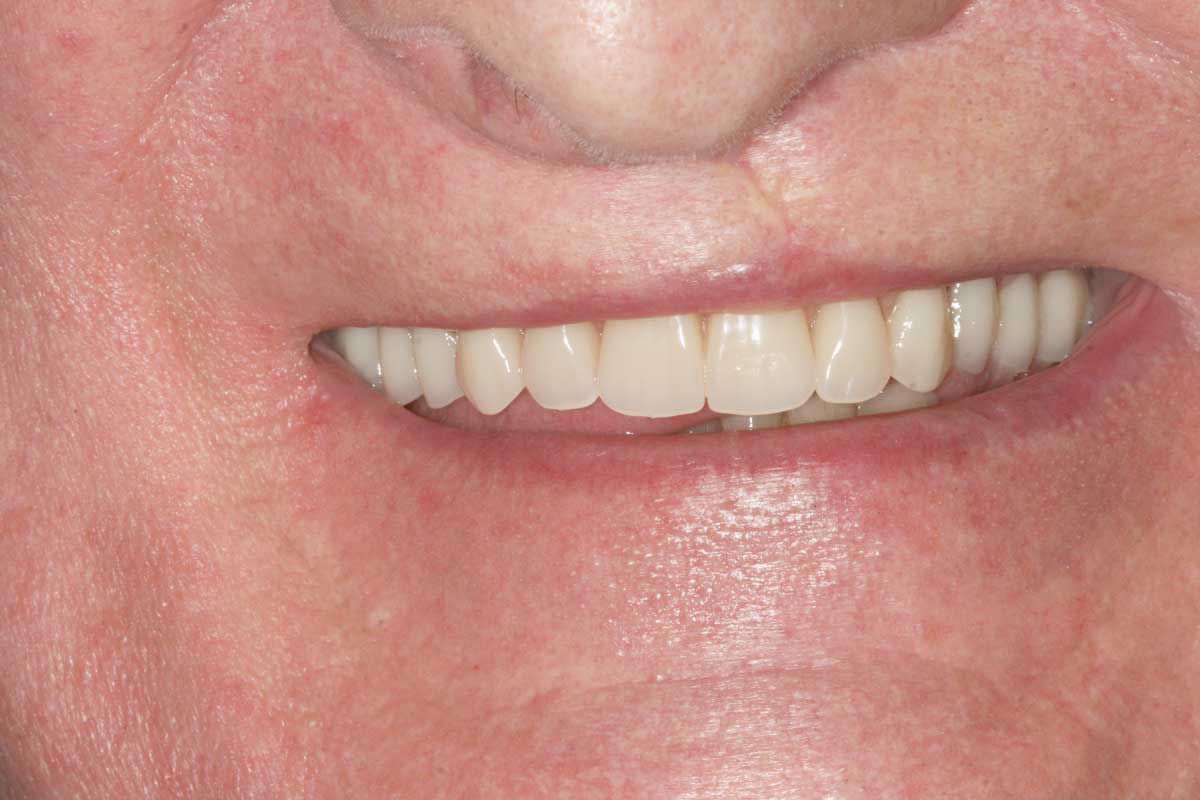
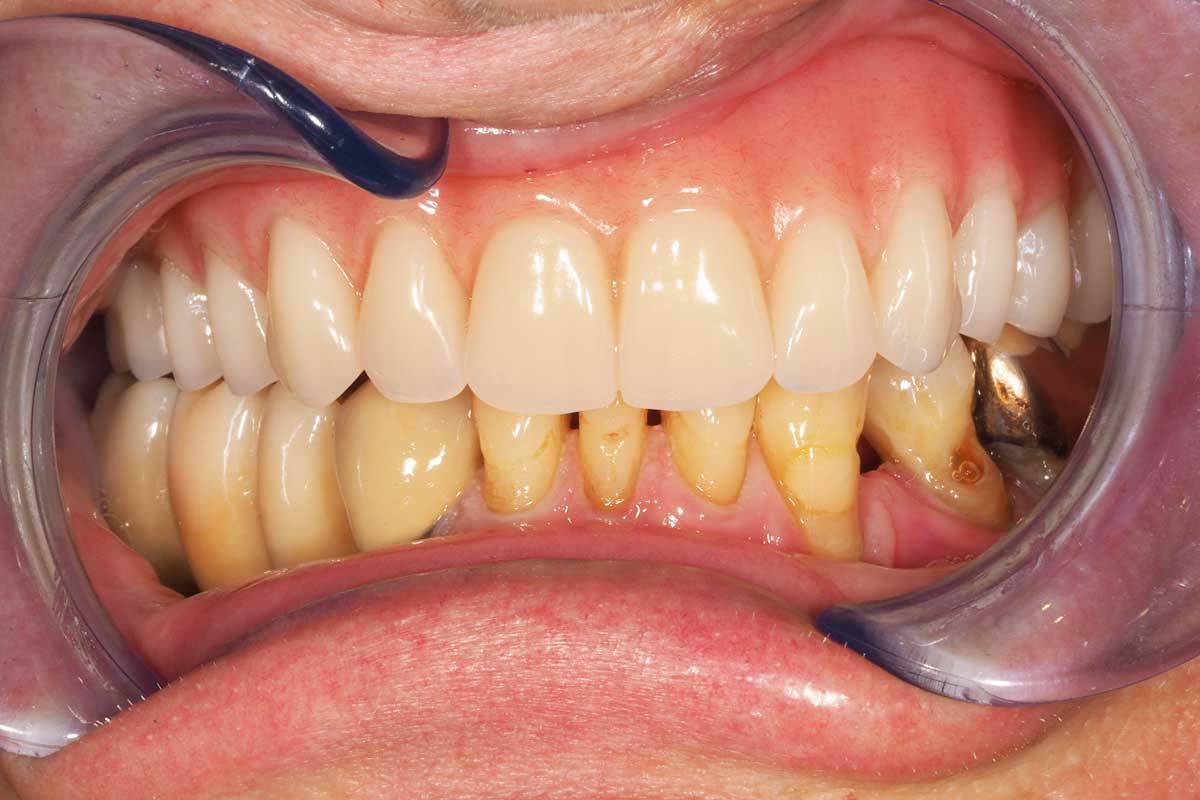
After many months, it was finally time for the fit of the final restorations. The function and aesthetic outcome we were able to achieve were more than satisfactory. The patient was over the moon.
As a team we were extremely happy and the decision to “take” our time and plan carefully definitely paid off. We were able to restore our patient’s smile, speech and function and and give her the confidence she deserves.
_____
Surgeon – Guy Barwell, The Implant Centre
Restorative dentist – Georgina Cooper, The Implant Centre


Let's work together

