I started my dental adventure in early 2000. I have a feeling that if I could time travel at the time and move my young student self to 2020, I would be astonished! (I won’t write about pandemics and politics – we all know the world went a bit bonkers recently!)
I am amazed by the digital equipment that I am surrounded by every day! I’m very lucky and privileged to work with people who are always eager to learn, experiment, innovate and embrace new technologies and materials.
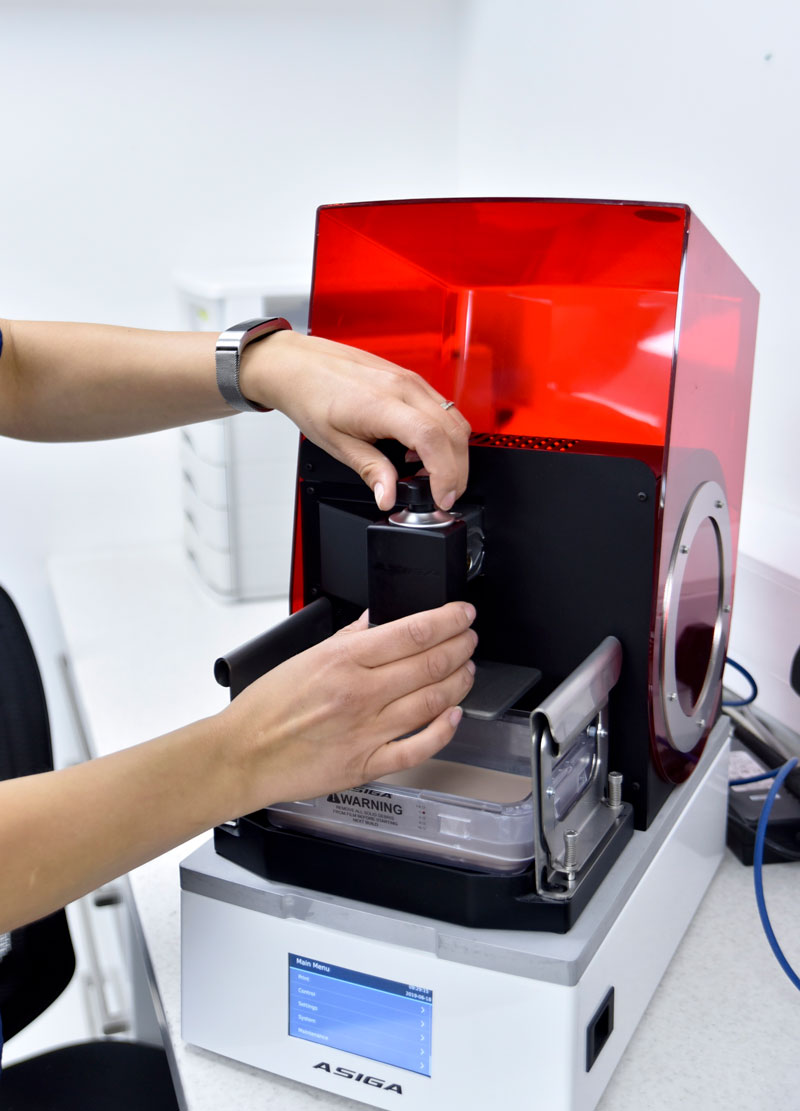
In our lab, we have multiple CAD designing stations, Zirkon Zahn M2 Dual milling machine (we can even mill large titanium frameworks!) and 3D printers. I think I can honestly say that we were all a little bit astonished at how quickly we have incorporated 3D printing into our daily routines.
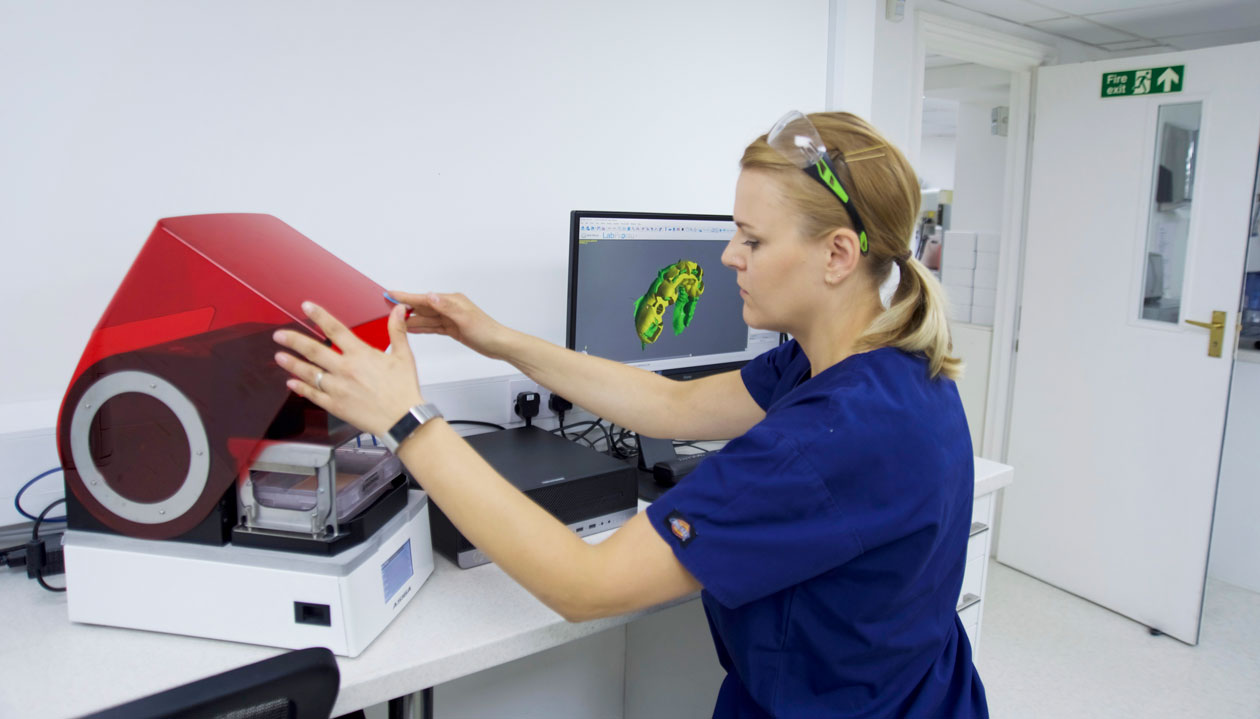
Asiga Max
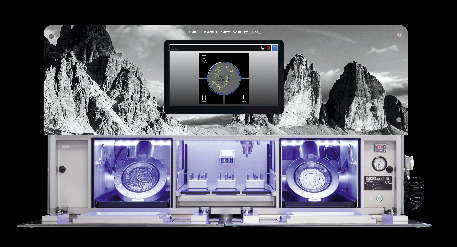
Our Zirkon Zahn M2 Dual milling machine
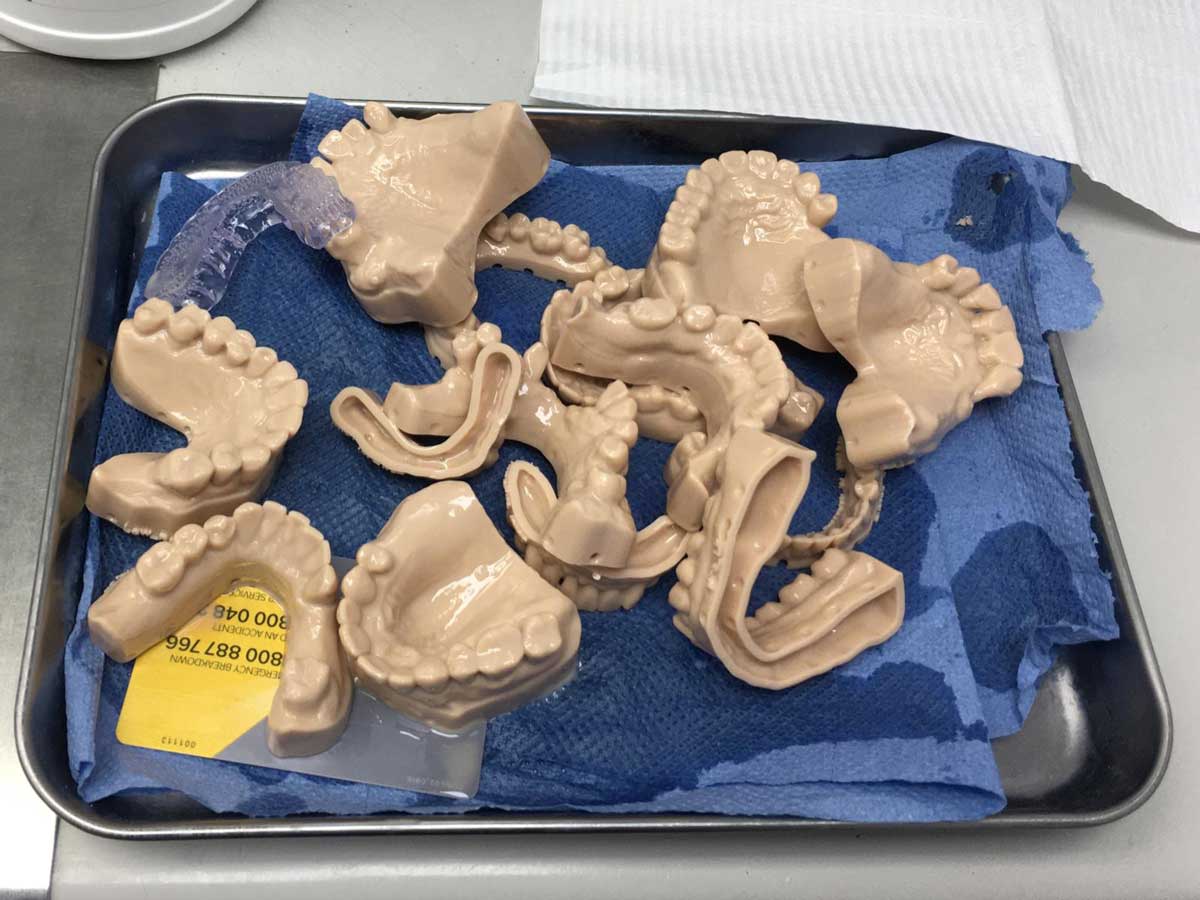
We print so much – models, special trays, bite rising appliances, bleaching trays, diagnostics, surgical guides, figures of Yoda, dentures, temporary C&B restorations, PPE mask adaptors that save lives and few more Yodas for good measure.
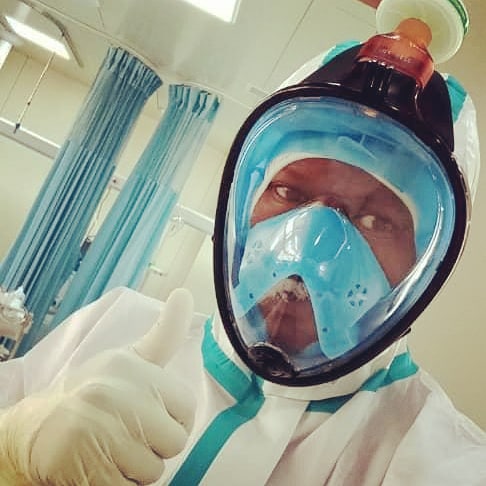
3D printed PPE adaptors
3D printed dentures
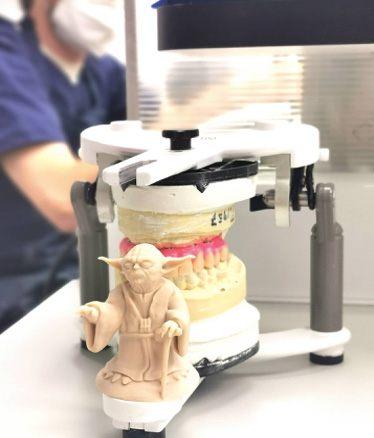
3D printed Yodas
As exciting as new technologies and new materials are, they can also be challenging. It takes practice and perseverance.
I jumped into 3D printing like there’s no tomorrow (couldn’t really do it any other way having a husband who is a well known 3D printing expert, who would pretty much push me into it whether I wanted to or not!).
I was practicing CAD designing whenever I could and tried to “squeeze” 3D printing into every job on my bench. I was super excited to finally get my hands on a couple of different dentine shade temporary resins. I was finally designing and printing simple immediate temps.
All were great, the feedback from clinicians and patients was very encouraging and I was pretty much living on a 3D printed cloud 9. This was until one day I received the dreaded bad feedback. One of my temps stained so badly, that our lovely patient was smiling more with custard than pearly gnashes.
It was just a temporary but due to the Covid lockdown it was “in use” for a bit longer than originally planned and it was really disappointing.
At the time, I was using two different brands of resin and as far as I understand, I was following all the pre and post production recommendations. What had happened then?
I decided to do some research and found that almost everyone has their own finishing methods. Hand polishing, glazing or both combined etc.
I have a very science curious 6 year old at home, so I decided to involve her in some weekend experiments. I’ve produced samples of two different resins. First lot were straight out of the print plate (but obviously cleaned), second were pumice and paste polished like acrylic and the third were blasted, primed and glazed with a light cure composite / acrylic glaze.
I decided I will also include one sample of PMMA milled material.
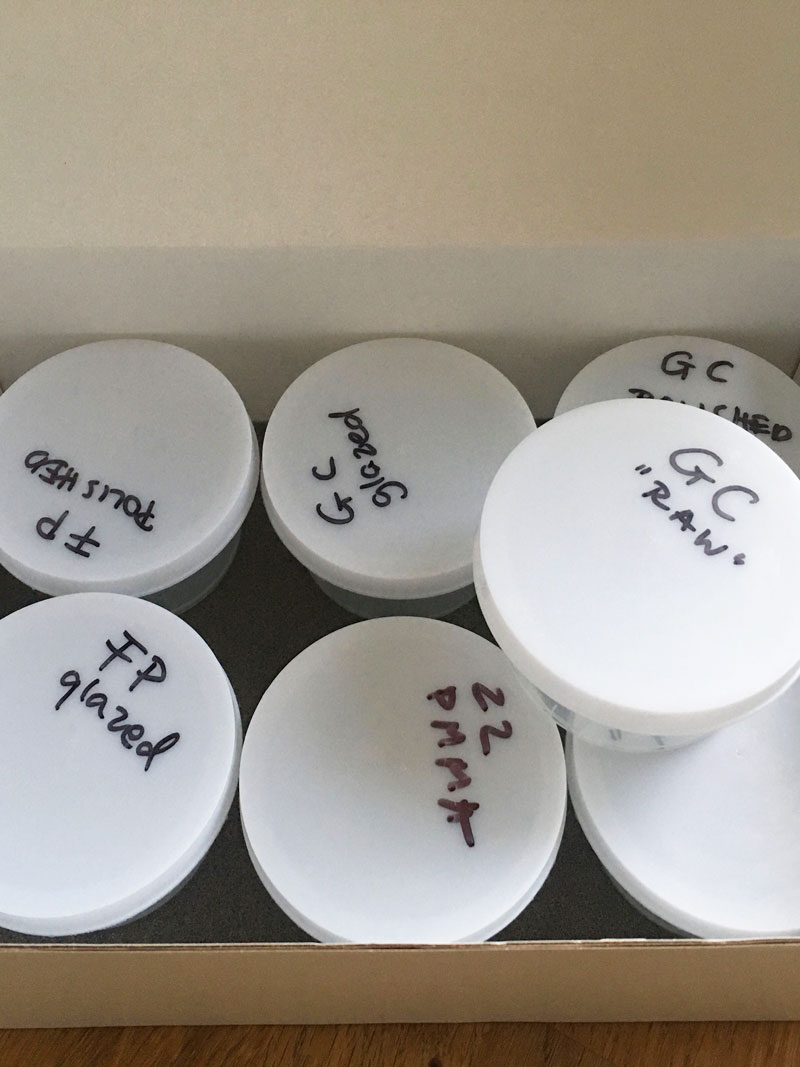
Boxed samples
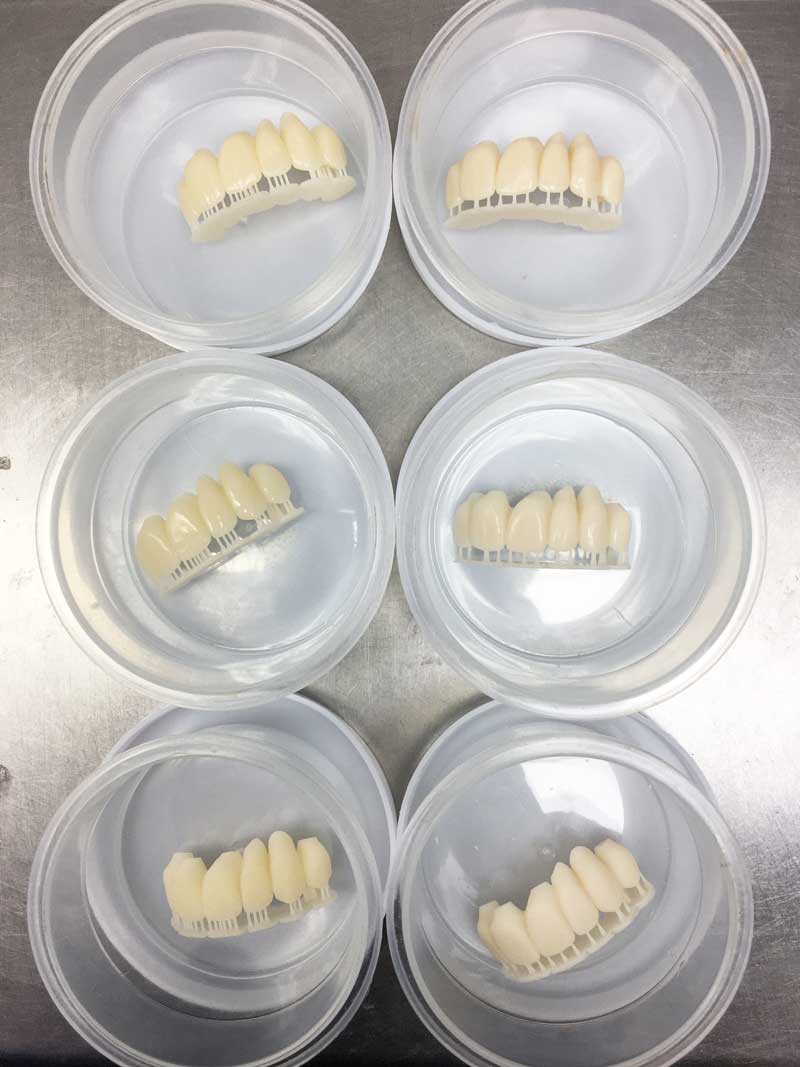
Before the bath
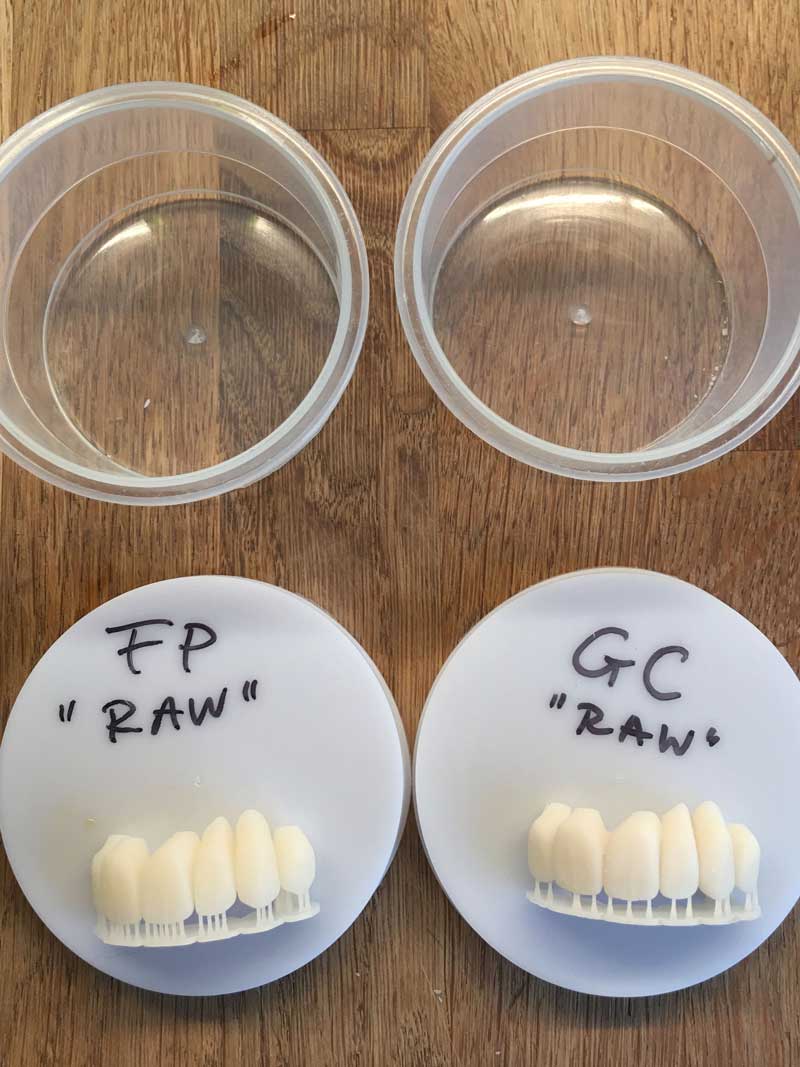
Clean samples
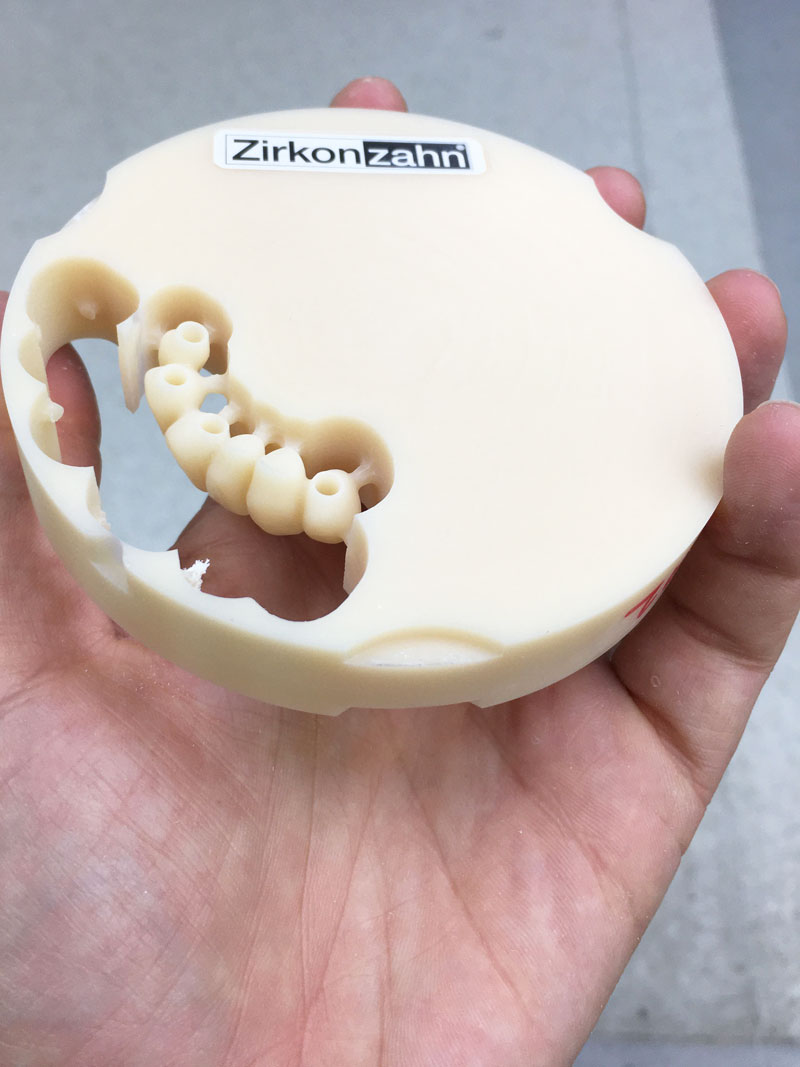
Milled PMMA
Now it was time for my little scientist to roll her sleeves up!
We searched our kitchen for everything we thought was well known for taking away the sparkle from your smile.
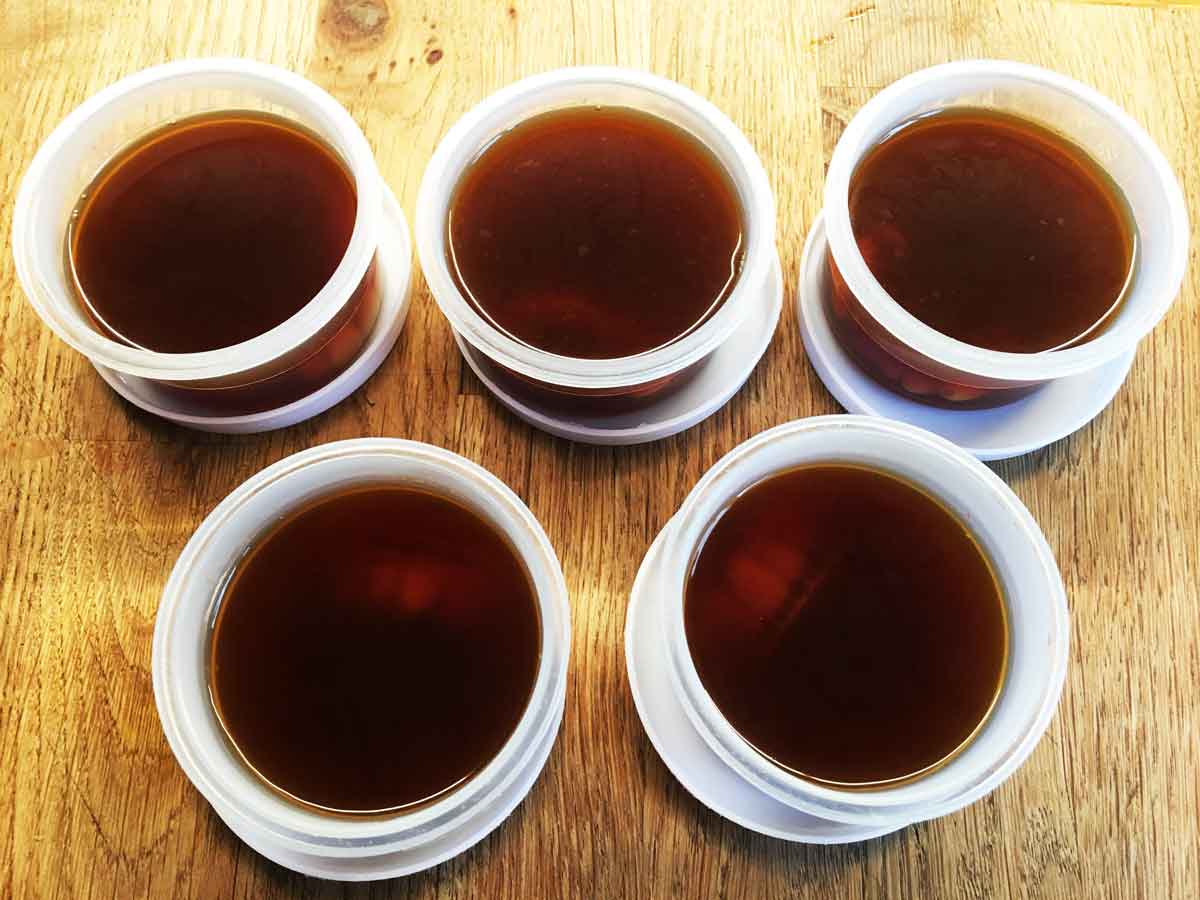
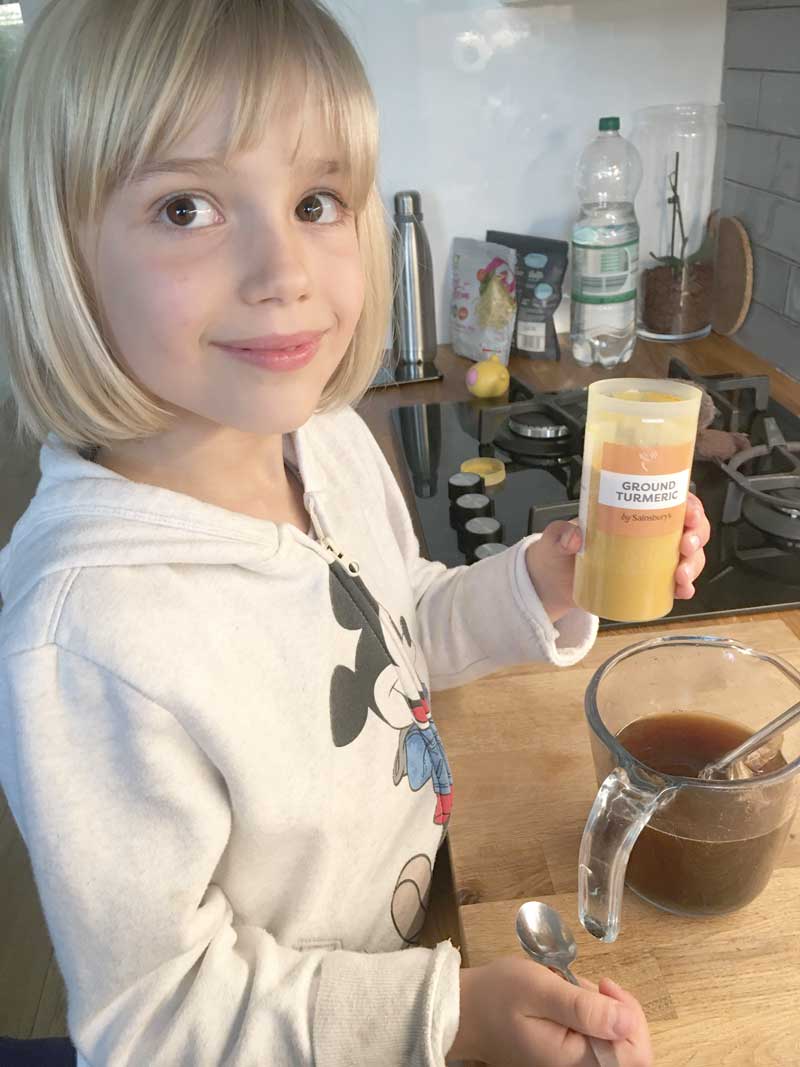
We ended up with a “broth” made of coffee, tea, red wine (I wasn’t too happy to sacrifice this one but I guess it was all in the name of science!), ketchup and turmeric – Mmmmmm….yummy!
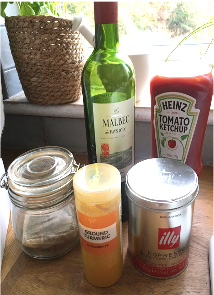
Ingredients
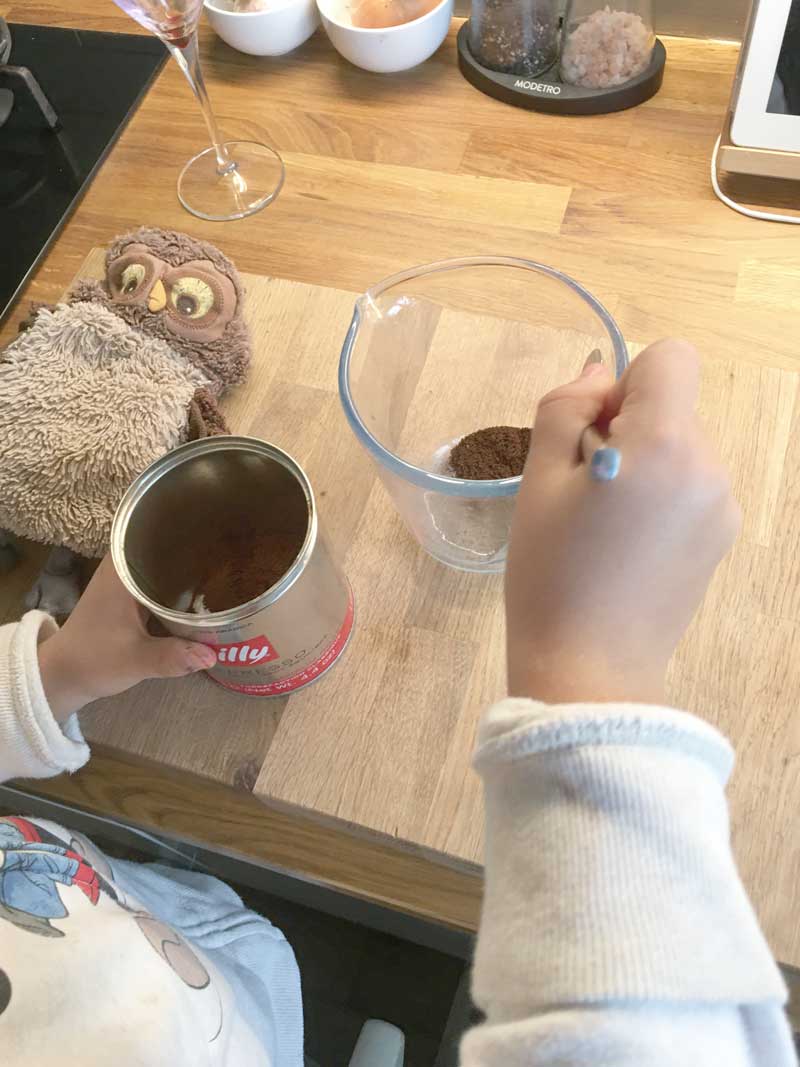
Assistant Owly
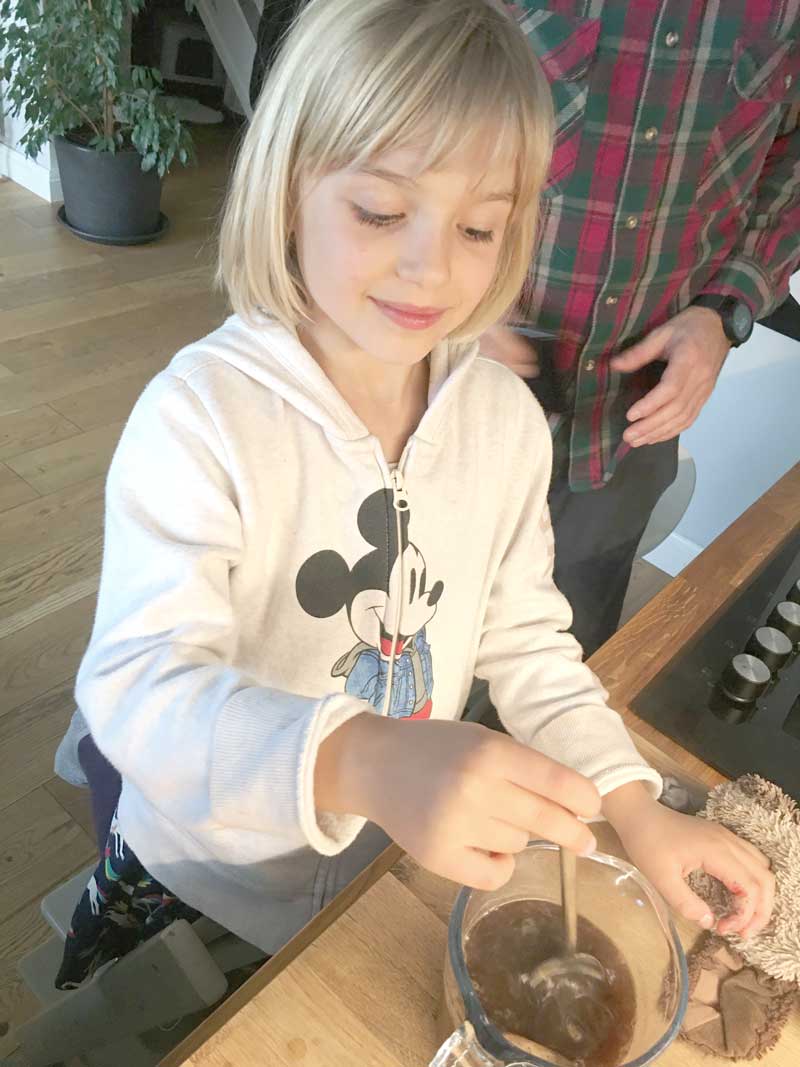
Mix it! Mix it!
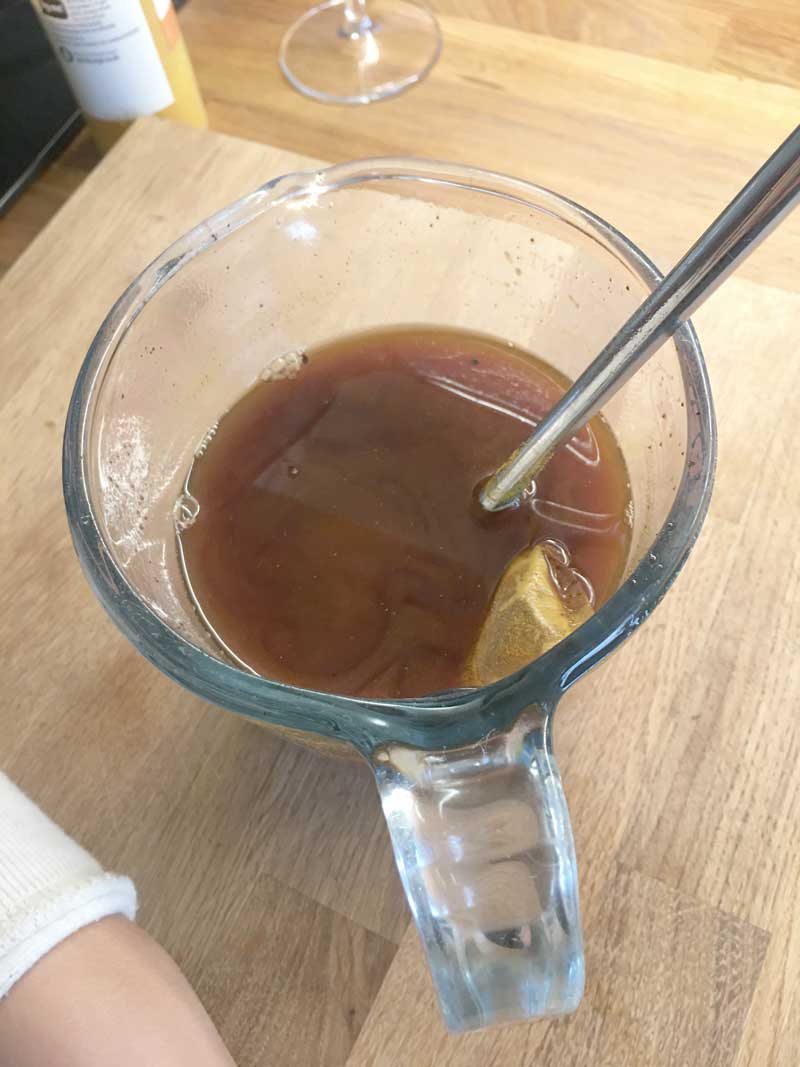
Yummy!
Ready!
I’ve labeled all the samples and submerged them into our witches potion! Originally I planned to leave them like this for much longer (maybe even weeks) but after less than 48 hours, the results were more than visible.
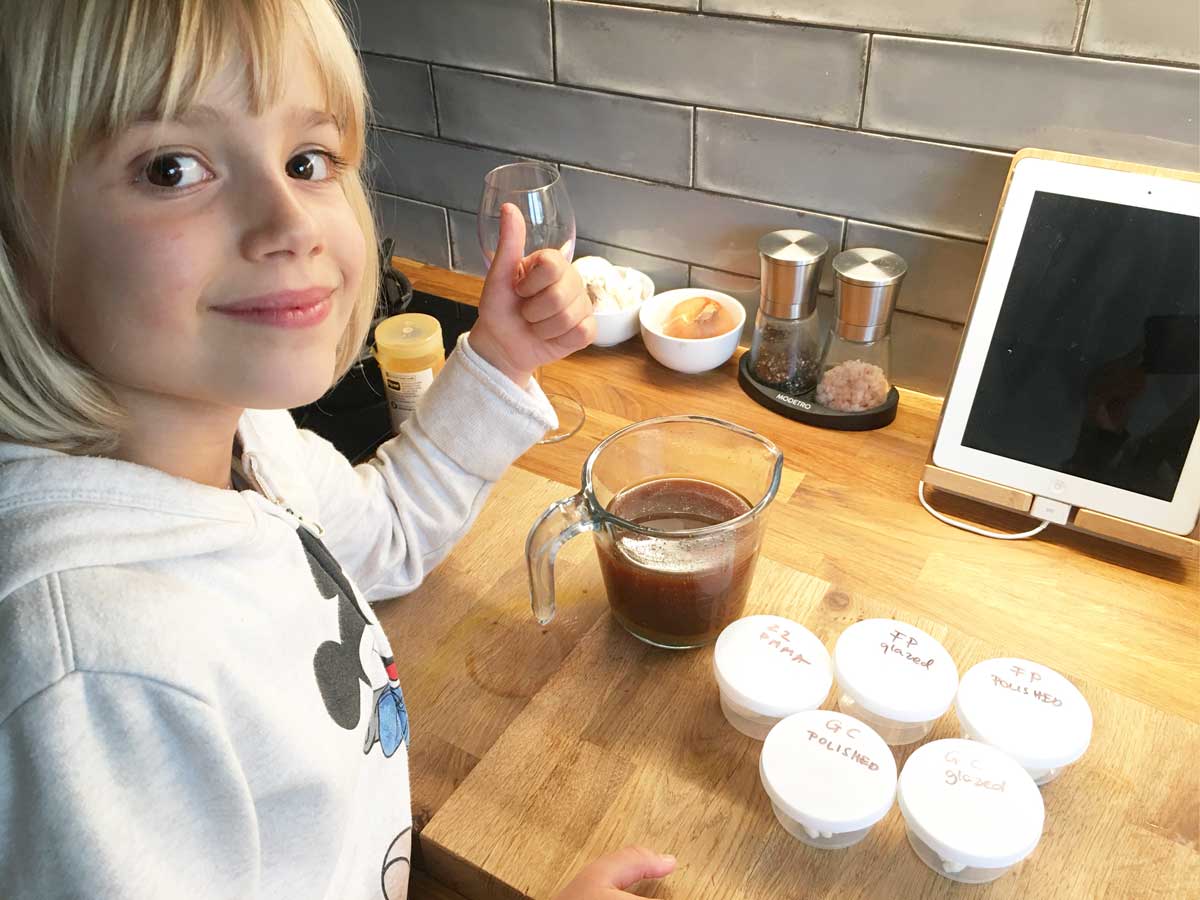
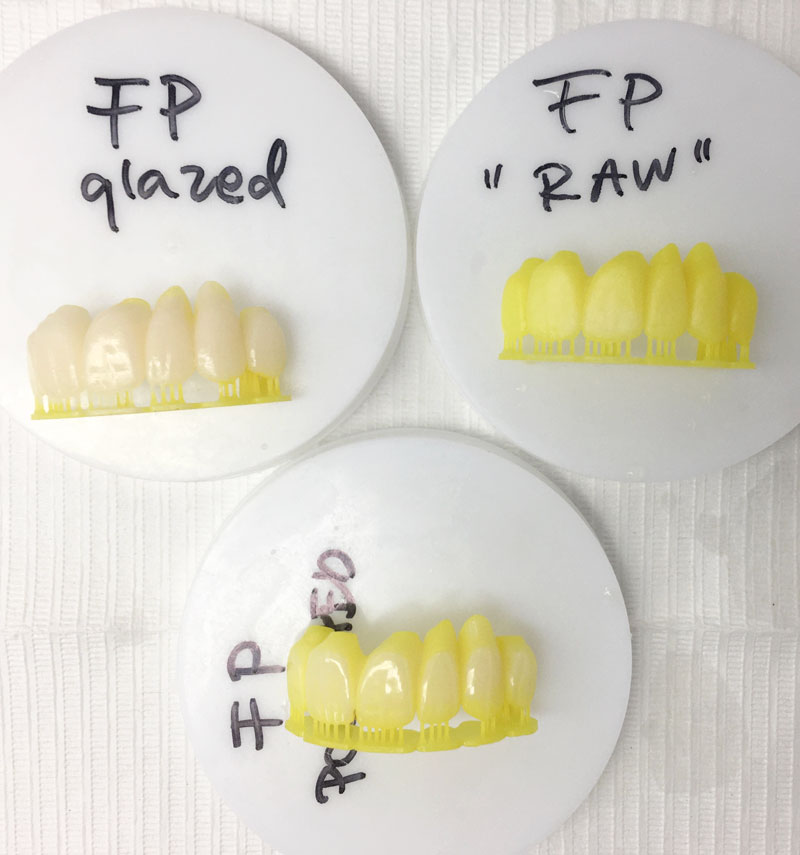
FreePrint straight out the pots

GC resin straight out the pot
On Monday morning I took my samples back to the lab. I decided I had to be “fair” to the resins so I gave them all a nice clean with a toothbrush and toothpaste.
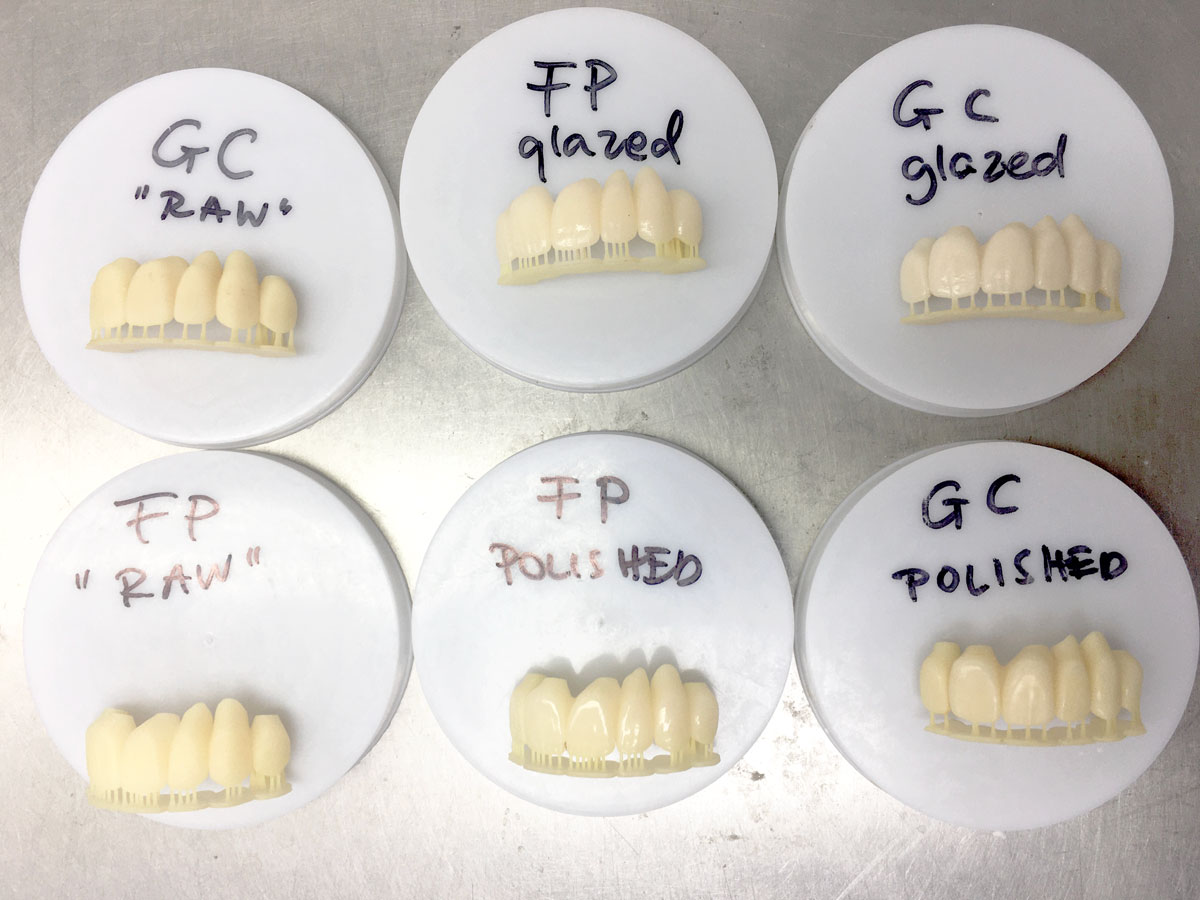
After toothbrushing
The conclusion was that polishing stopped the staining partially but the best protection came through glazing.
I have to say I’m a bit of an “anti glazer” when it comes to finishing plastics and composites. I guess I just don’t trust them enough? Nothing beats that luster shine that a bit of elbow grease can achieve, right?
We are dealing with very new materials and those that I tested are only recommended for temporary restorations, so I guess I just have to accept that the glaze is the way to go (for now!).
This study was carried out for the benefit of myself and our lab (plus fun and entertainment for my little person) and I’m not claiming this is any super advanced science or the only way to work. It was just really interesting to have a little play and see what the different materials and post production offer.
Oh! …And we decided to maybe ask our patients to avoid too much tumeric while using their temps – it stains like crazy!!! In fact my kitchen is still a bit yellow in some places!
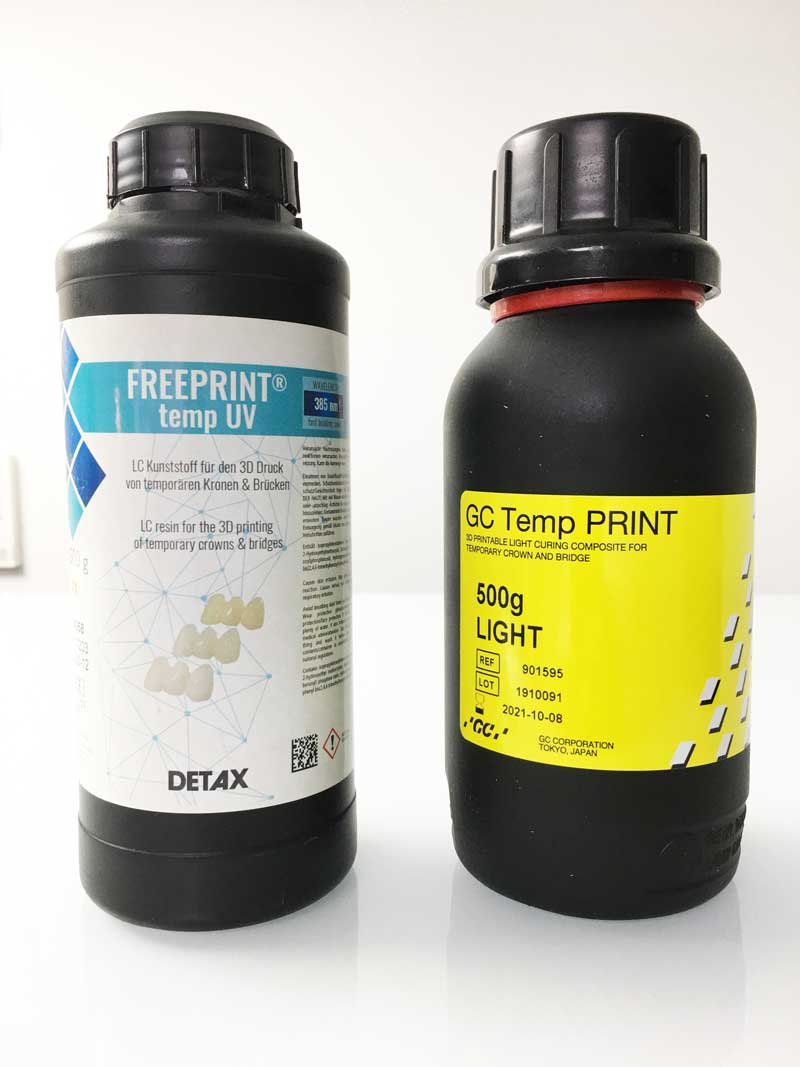
The tested resins were: GC temp and Detax Freeprint temp (both printed on Asiga Max UV).
The glaze was either GC Optiglaze or Dreve’s Nano Varnish, however as much as I try, I really cannot remember which one!
By Lola Welch,
Senior Technician
From the blog
Sick and tired of your partner being angry with you because they can’t sleep?
With our new Silensorsnore guards you can now sleep easily and peacefully!What is the silensor snore guard? Essentially the Silensorsnore guard is an upper and lower jaw mouth guard attached together. The guard is designed in a way that helps protrude the lower jaw...
Let's work together

