Case study
Digital diagnostic planning and preparation to temporary restoration
The last couple of years have seen a rapid evolution in digital dentistry both in the surgery and laboratory.
Every day in the dental laboratory we are finding new ways to utilise digital workflows, not as a replacement to traditional methods but as a tool in addition to these. The more these digital skills are used, the more efficient and multi-skilled we become as technicians in the laboratory, allowing us to offer our clients a wider range of solutions to suit the case.
Traditional methods for fabricating diagnostic models and wax-ups would entail sending the alginate impressions via courier or postal service. Subsequently, the workflow in the laboratory would include casting impressions, duplicating and preparing models, then creating an ideal diagnostic set up using wax or denture teeth. Using a digital workflow we are able to produce the same physical results in a more efficient and clean way. This helps to improve communication with the clinician to achieve the best results.
Case introduction
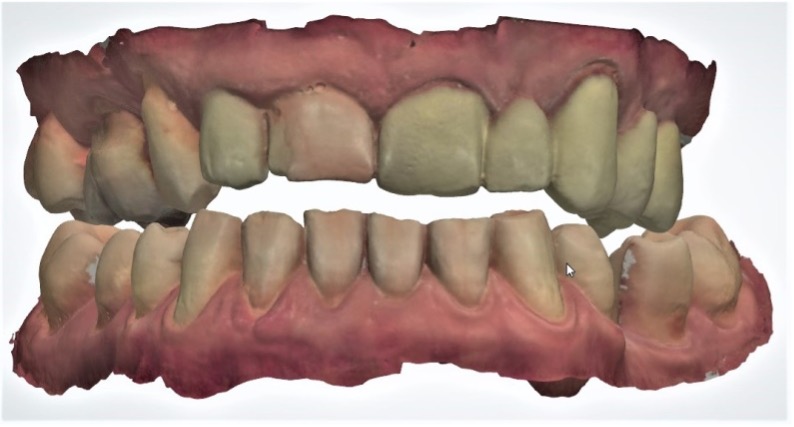
This case was presented to us by a loyal client of the laboratory and was to be completed using a fully digital workflow,
which included the following:
- Opening the vertical occlusion by 1.5mm
- Preparation of initial scans for chair-side temporisation on the upper arch and composite bonding on the lower anteriors
- Temporary crowns for the upper arch
- Composite bonding for the lower anteriors
- Definitive zirconia restorations:
-UR6-3 three unit bridge
-UR2, 1 and UL1 single units
-UL2-5 four unit bridge with cantilevered UL2
The first task was to prepare the teeth to an ideal reduction and margin using the morphing tools on the scan of the upper arch.

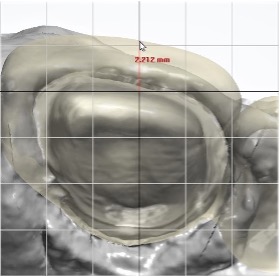
The ideal amount of reduction was to be around 1.5mm to include a shouldered margin in order to create a realistic scenario for the diagnostic set up. The advantage of preparing the teeth digitally, over traditional methods in plaster models, was that we were able to accurately measure how much reduction we had made in any given position using the existing teeth as a pre-preparation guide. We were then able to 3D print the results of the preparations so that the surgeon would have an idea of how much reduction we had made.
The lower arch did not need any preparation as it was for an additive composite solution.
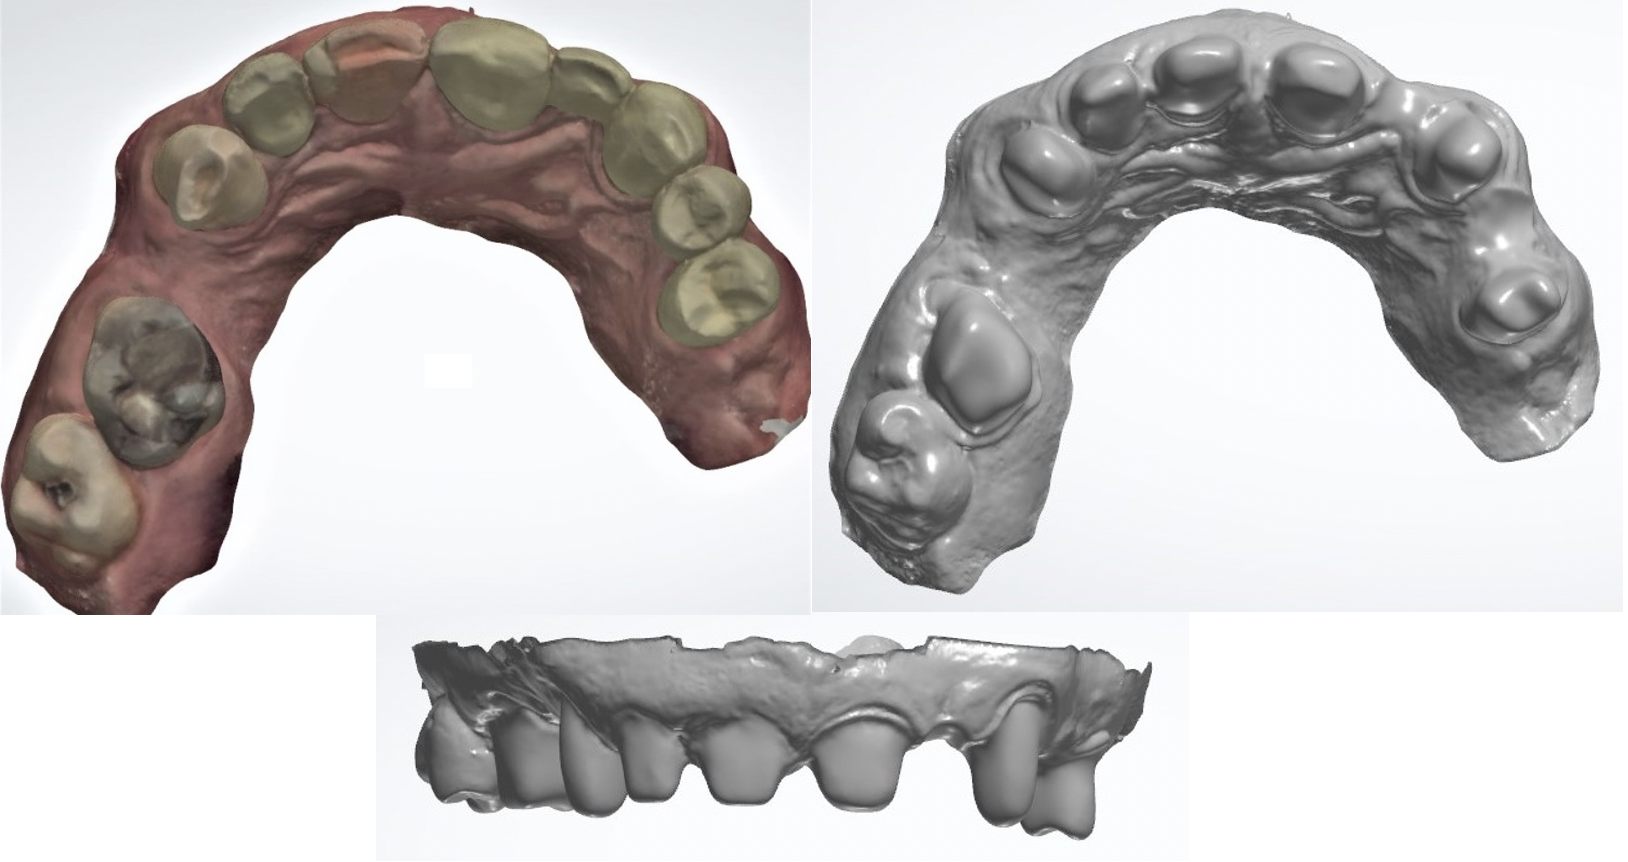
To create the occlusal space needed, as previously discussed with the clinician, we were able to open the vertical occlusion by 1.5mm. This allowed us to restore the abraded lower incisors to their original contour and we were then able to design the upper arch with the lower incisors in mind. We kept everything to ideal centric occlusion with spot contacts with the premise that there would be some adjustment made intraorally.
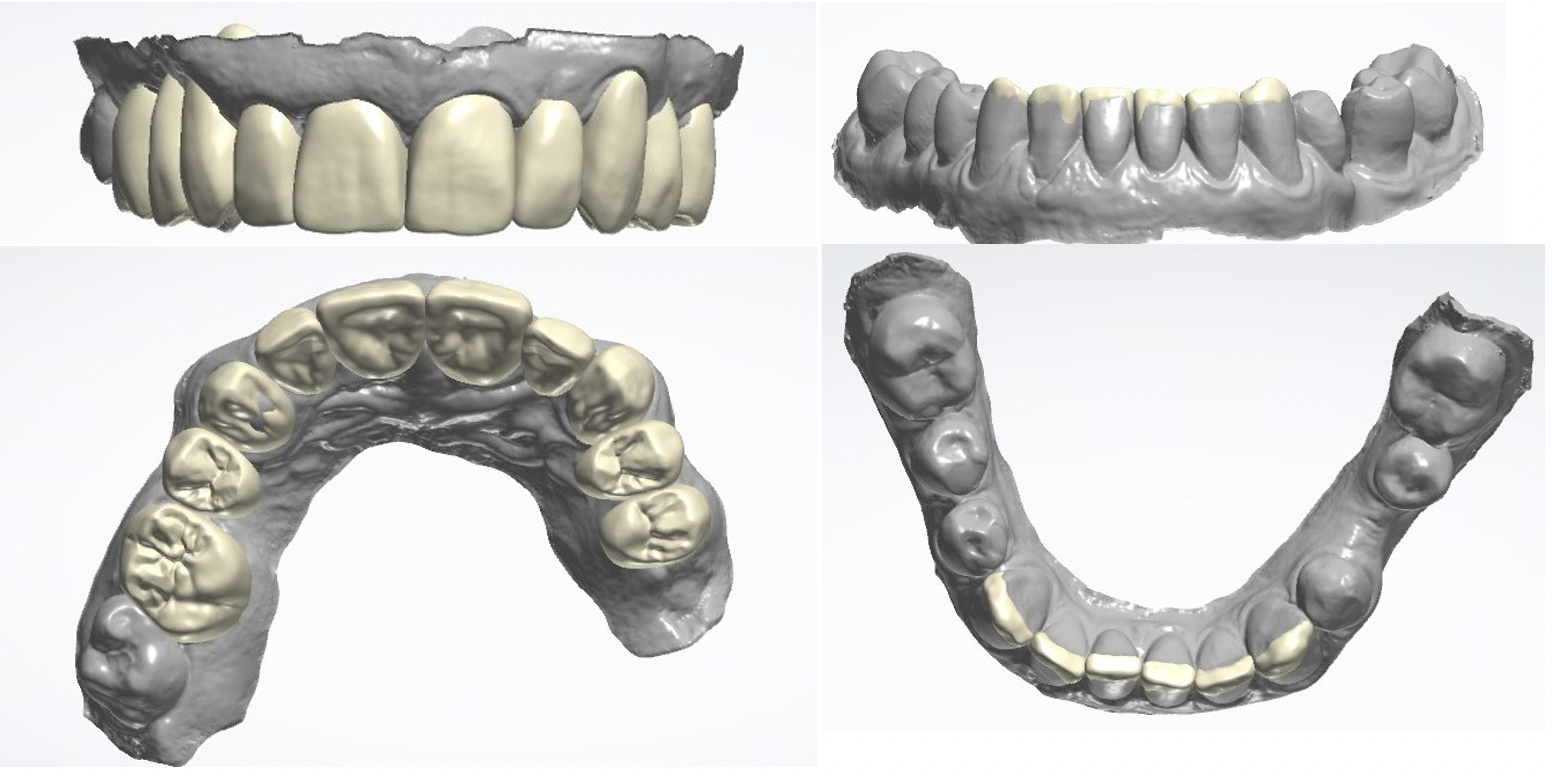
The diagnostic set-up models were then 3D printed and sent to the clinician in order to make the clear silicone matrices for the composite temporaries for the upper arch and definitive composite bonding for the lower anteriors.
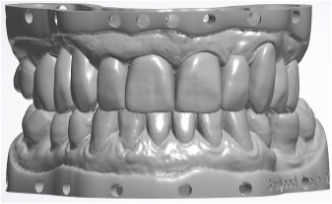
The clinician then prepped the upper teeth and used a clear silicone matrix to make a primary temporary solution for the upper arch and definitive composite bonding for the lower incisors.
Occlusal adjustments were made to the upper primary temporary then the amendments and occlusion were intraorally scanned as a pre-preparation in order for the lab to design the temporary crowns and bridges to the initial diagnostic set up. The primary temporary restoration was then in situ for six months to allow the gingiva to heal and the patient to grow accustomed to their new occlusal position.
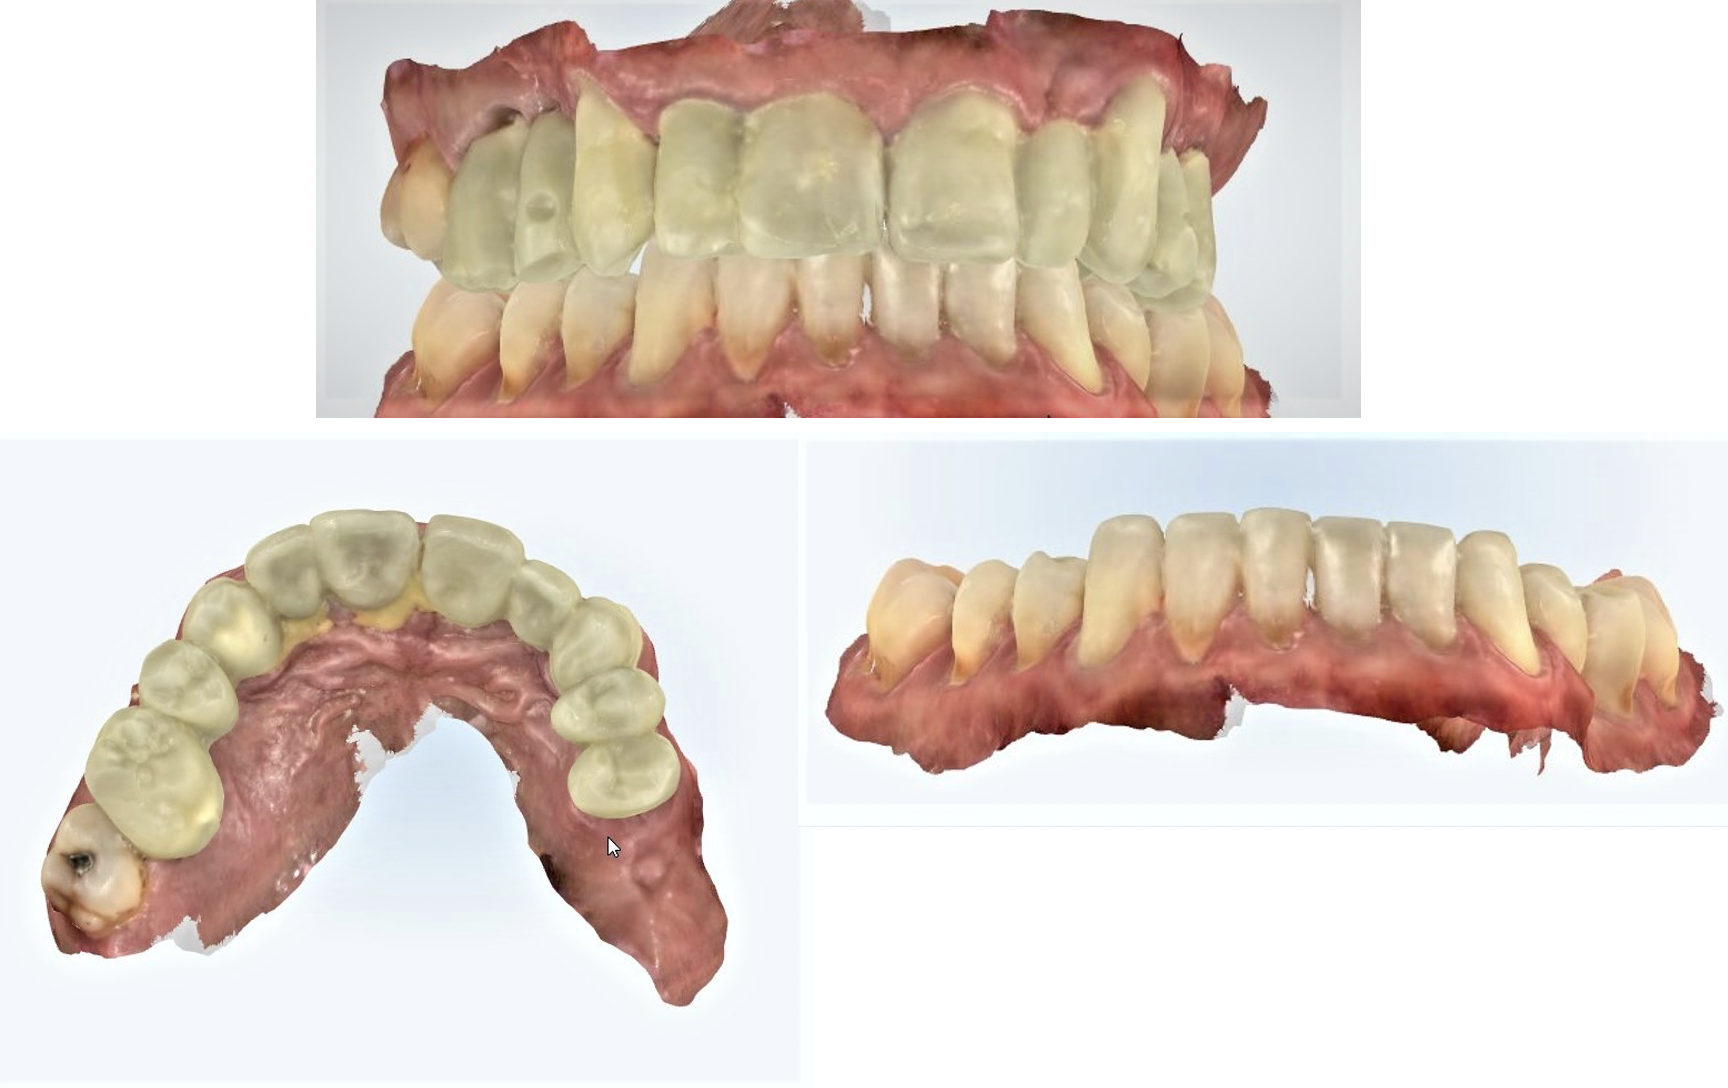
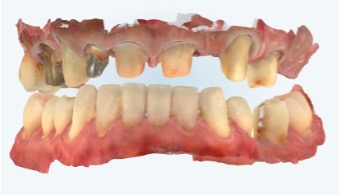
After the healing period the clinician scanned the occlusion again and removed the primary temporaries in order to scan the prepped teeth with visibly clear margins and the gingiva now fully healed. The clinician was happy to remove the primary temporaries and re-temporise in order to ensure that we had accurate scans of the preparations.
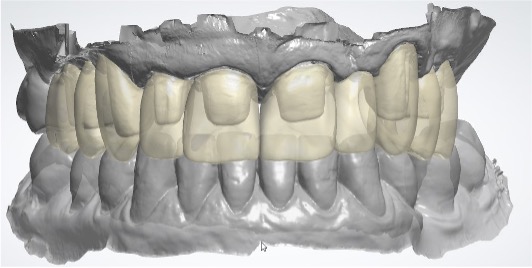
The new scans of the primary temporary with occlusal adjustments were imported and aligned to our original diagnostic set-up. This helped us achieve an aesthetic result within the parameters of the material and final prepared teeth and margins.
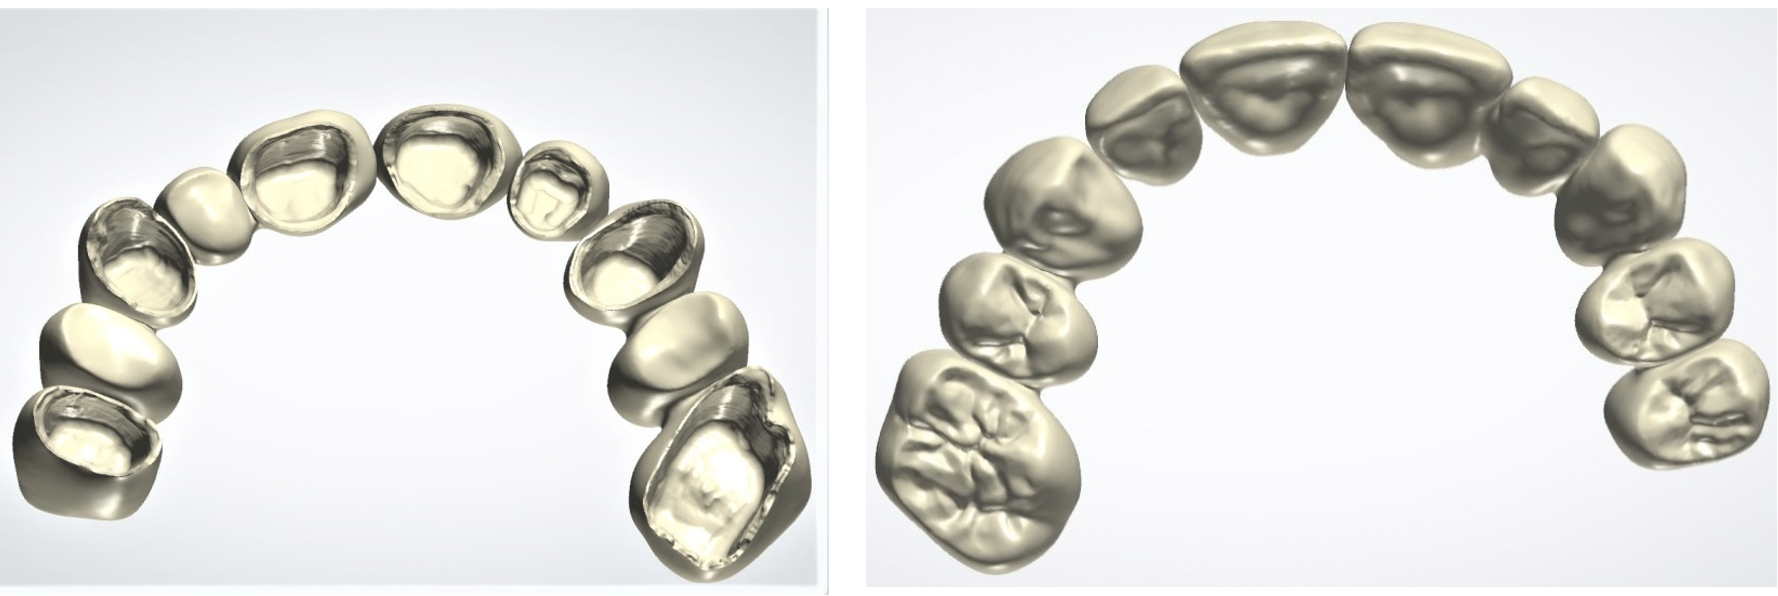
The temporary restorations were then milled in PMMA. The margins, contacts and occlusion were checked and adjusted and the restorations were polished to a high lustre finish.
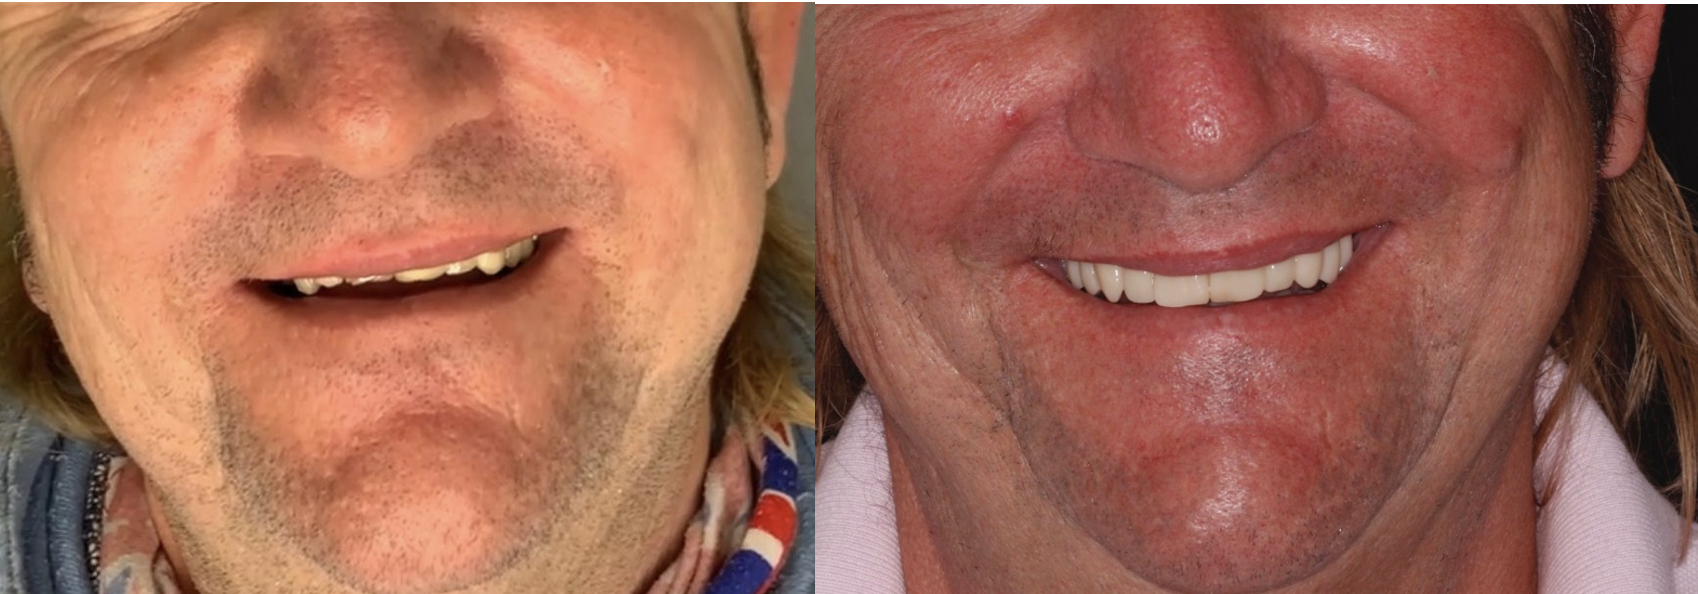
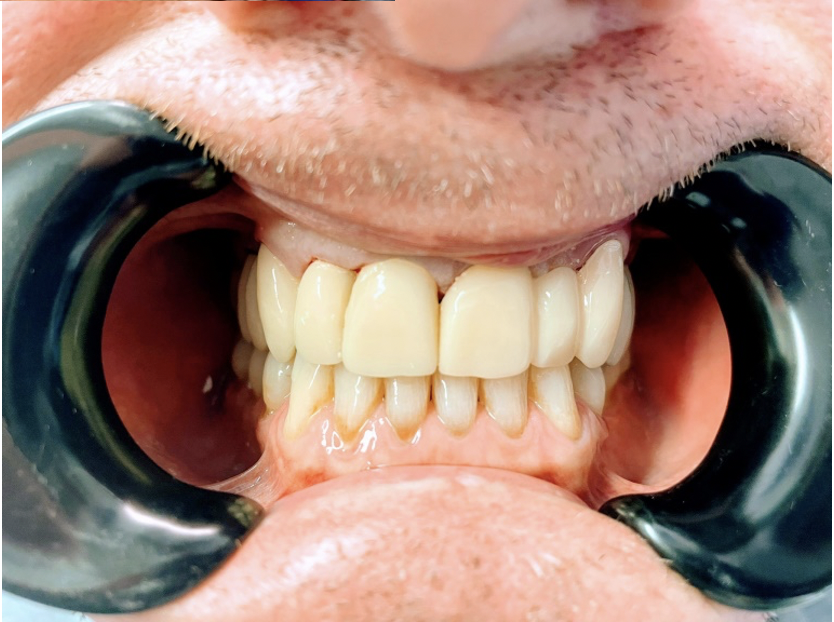
The final results
The well developed digital diagnostic workflow allows for efficient one to one communication between the clinician and the CAD/CAM team. We use video calls with clinicians to share the progress of our design process and discuss any issues or requirements.
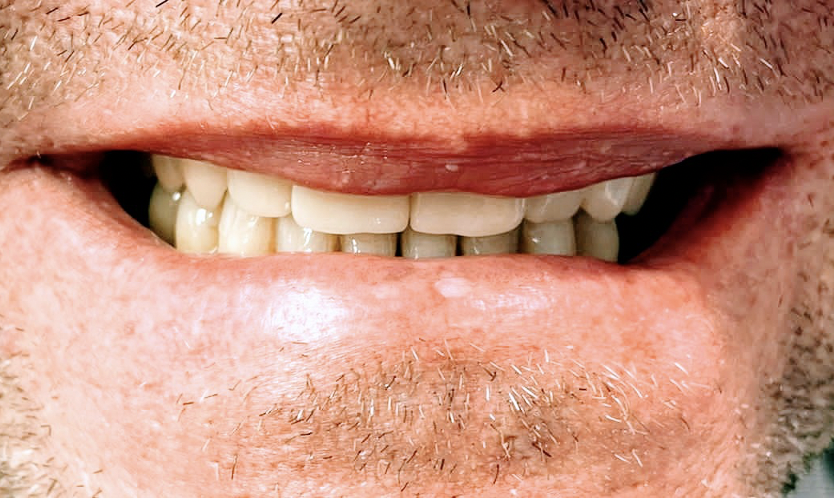
The clinician and most importantly, the patient, were extremely happy with the results. We were told the patient’s wife was so pleased with his new smile she posted photos on social media to thank the whole team involved in giving her husband his new and improved smile.
Let's work together

